


New Products


Categories

Dies/Stamps +
Cutting dies, stamps, machines, ink pads, embossing powders, Gelli, stencils & more!

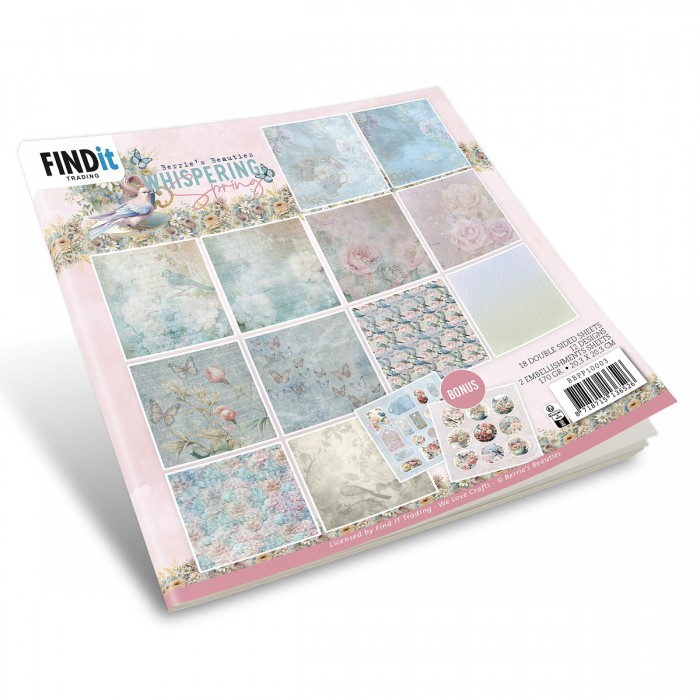
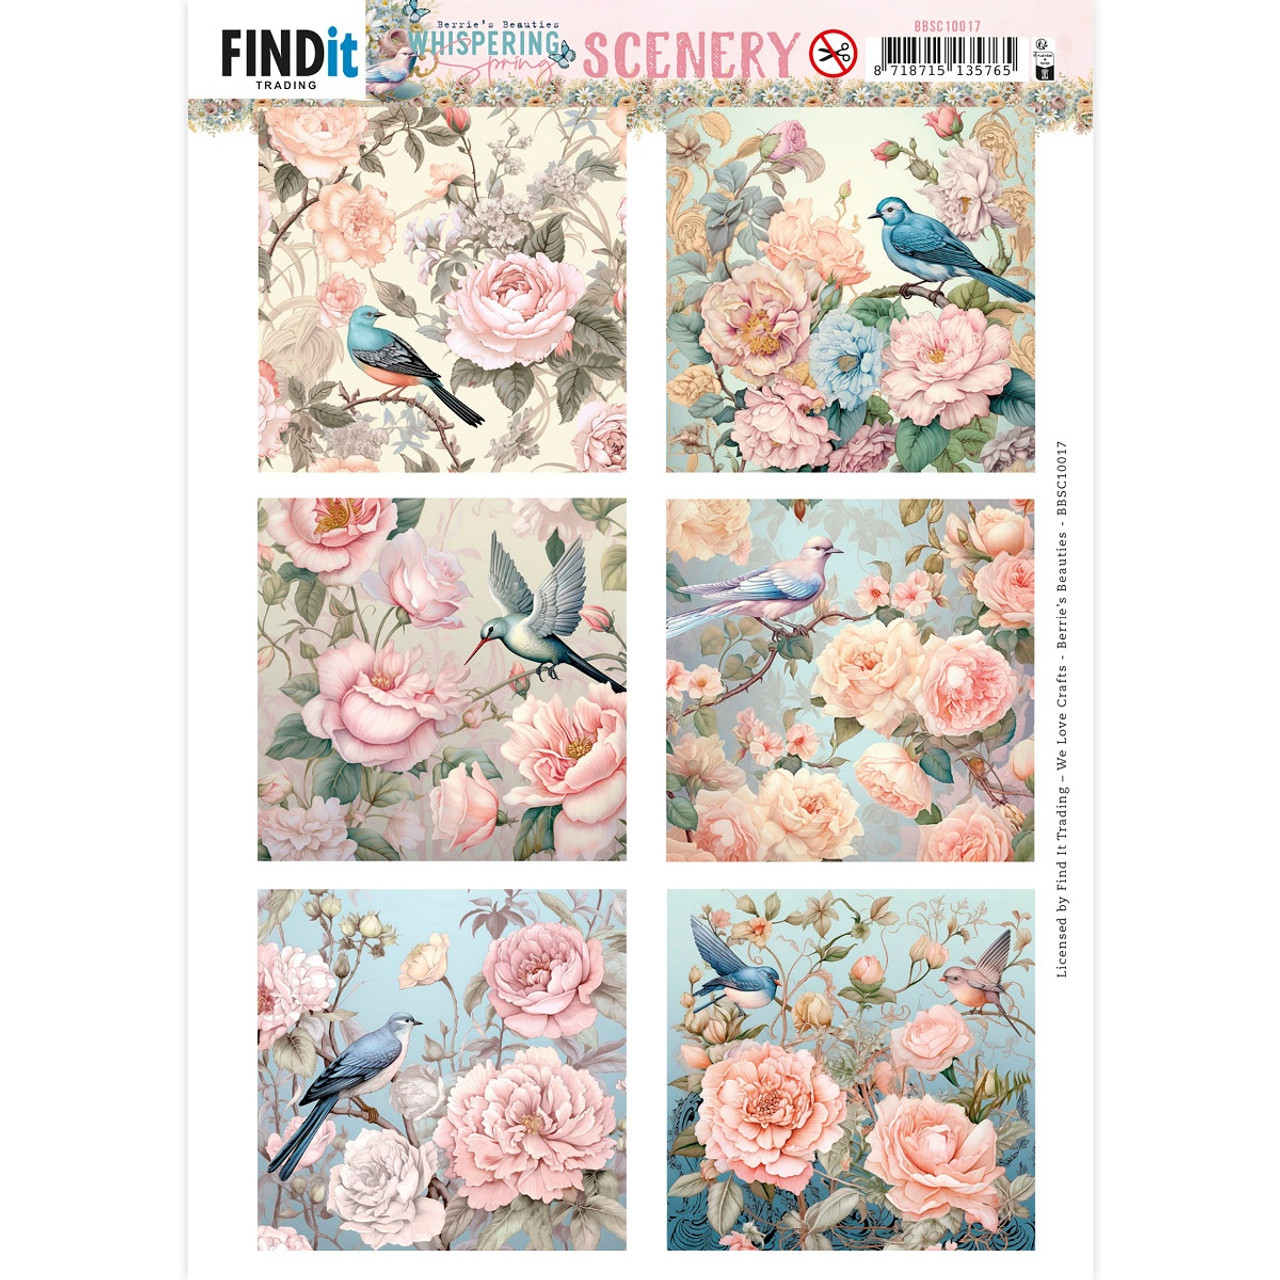
Papers
Paper packs, cardstocks, specialty papers, rice paper, Transfer Me, papers by the sheet—in all the sizes!

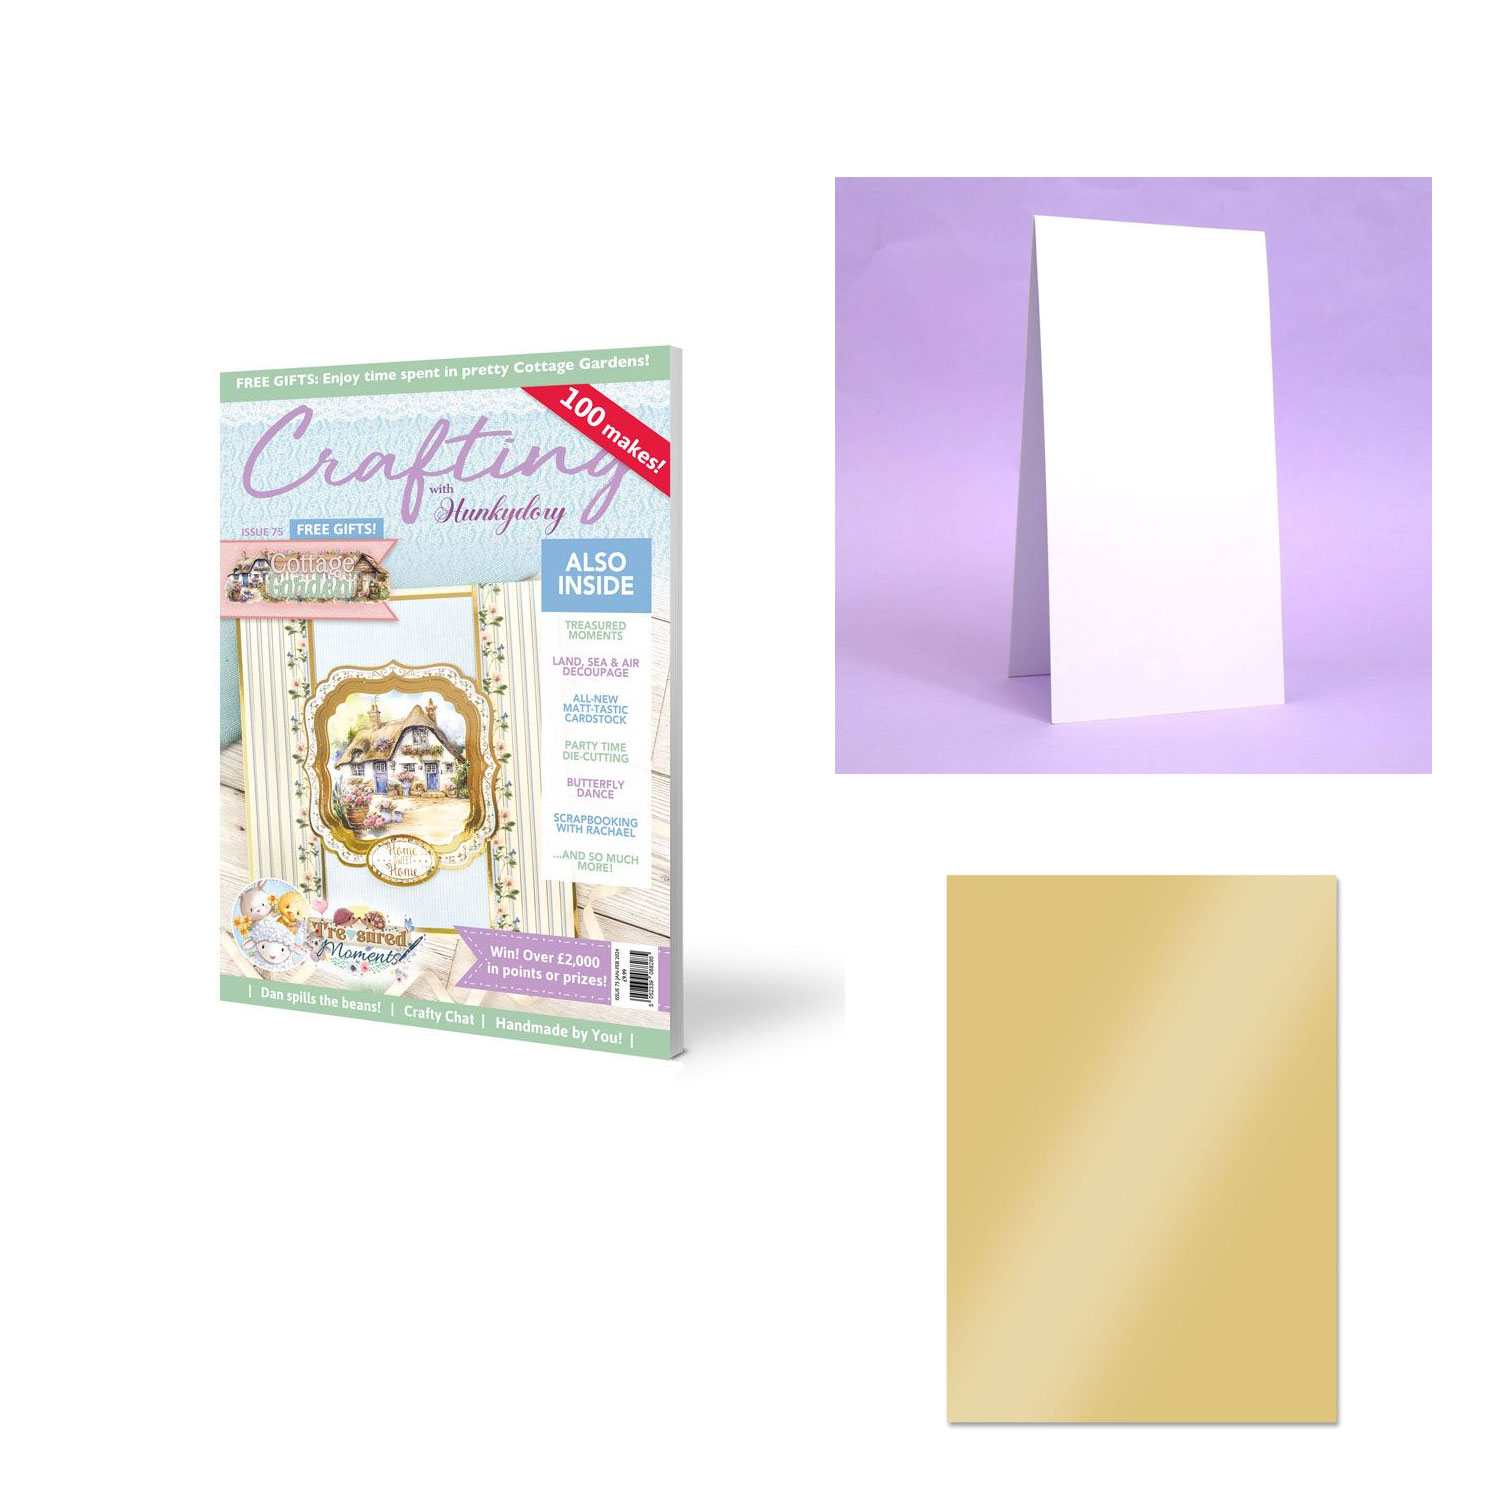
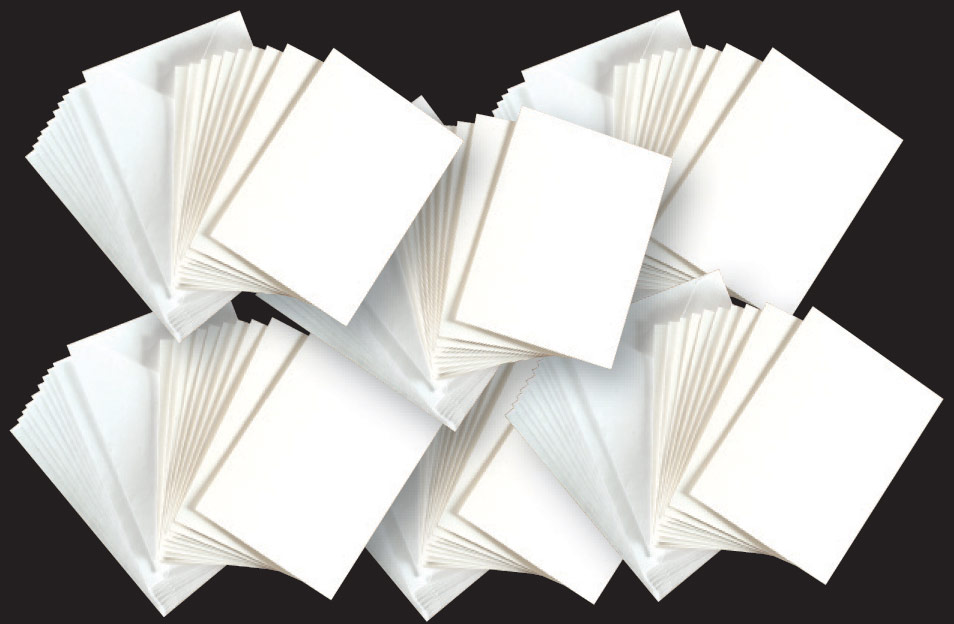
Card Making
Cards & envelopes sets, Hunkydory, box kits, magazines, Artful Card Kits, books, DVDs & such!

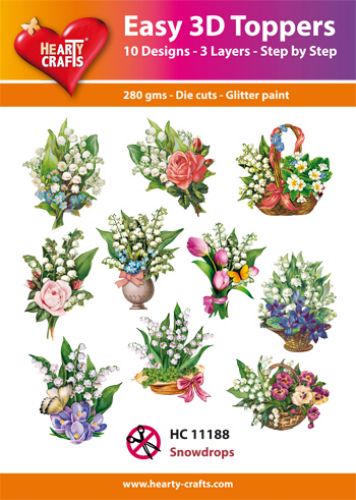
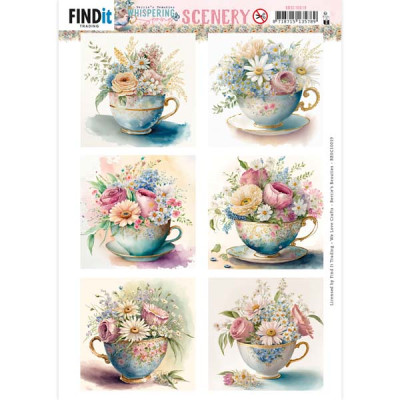
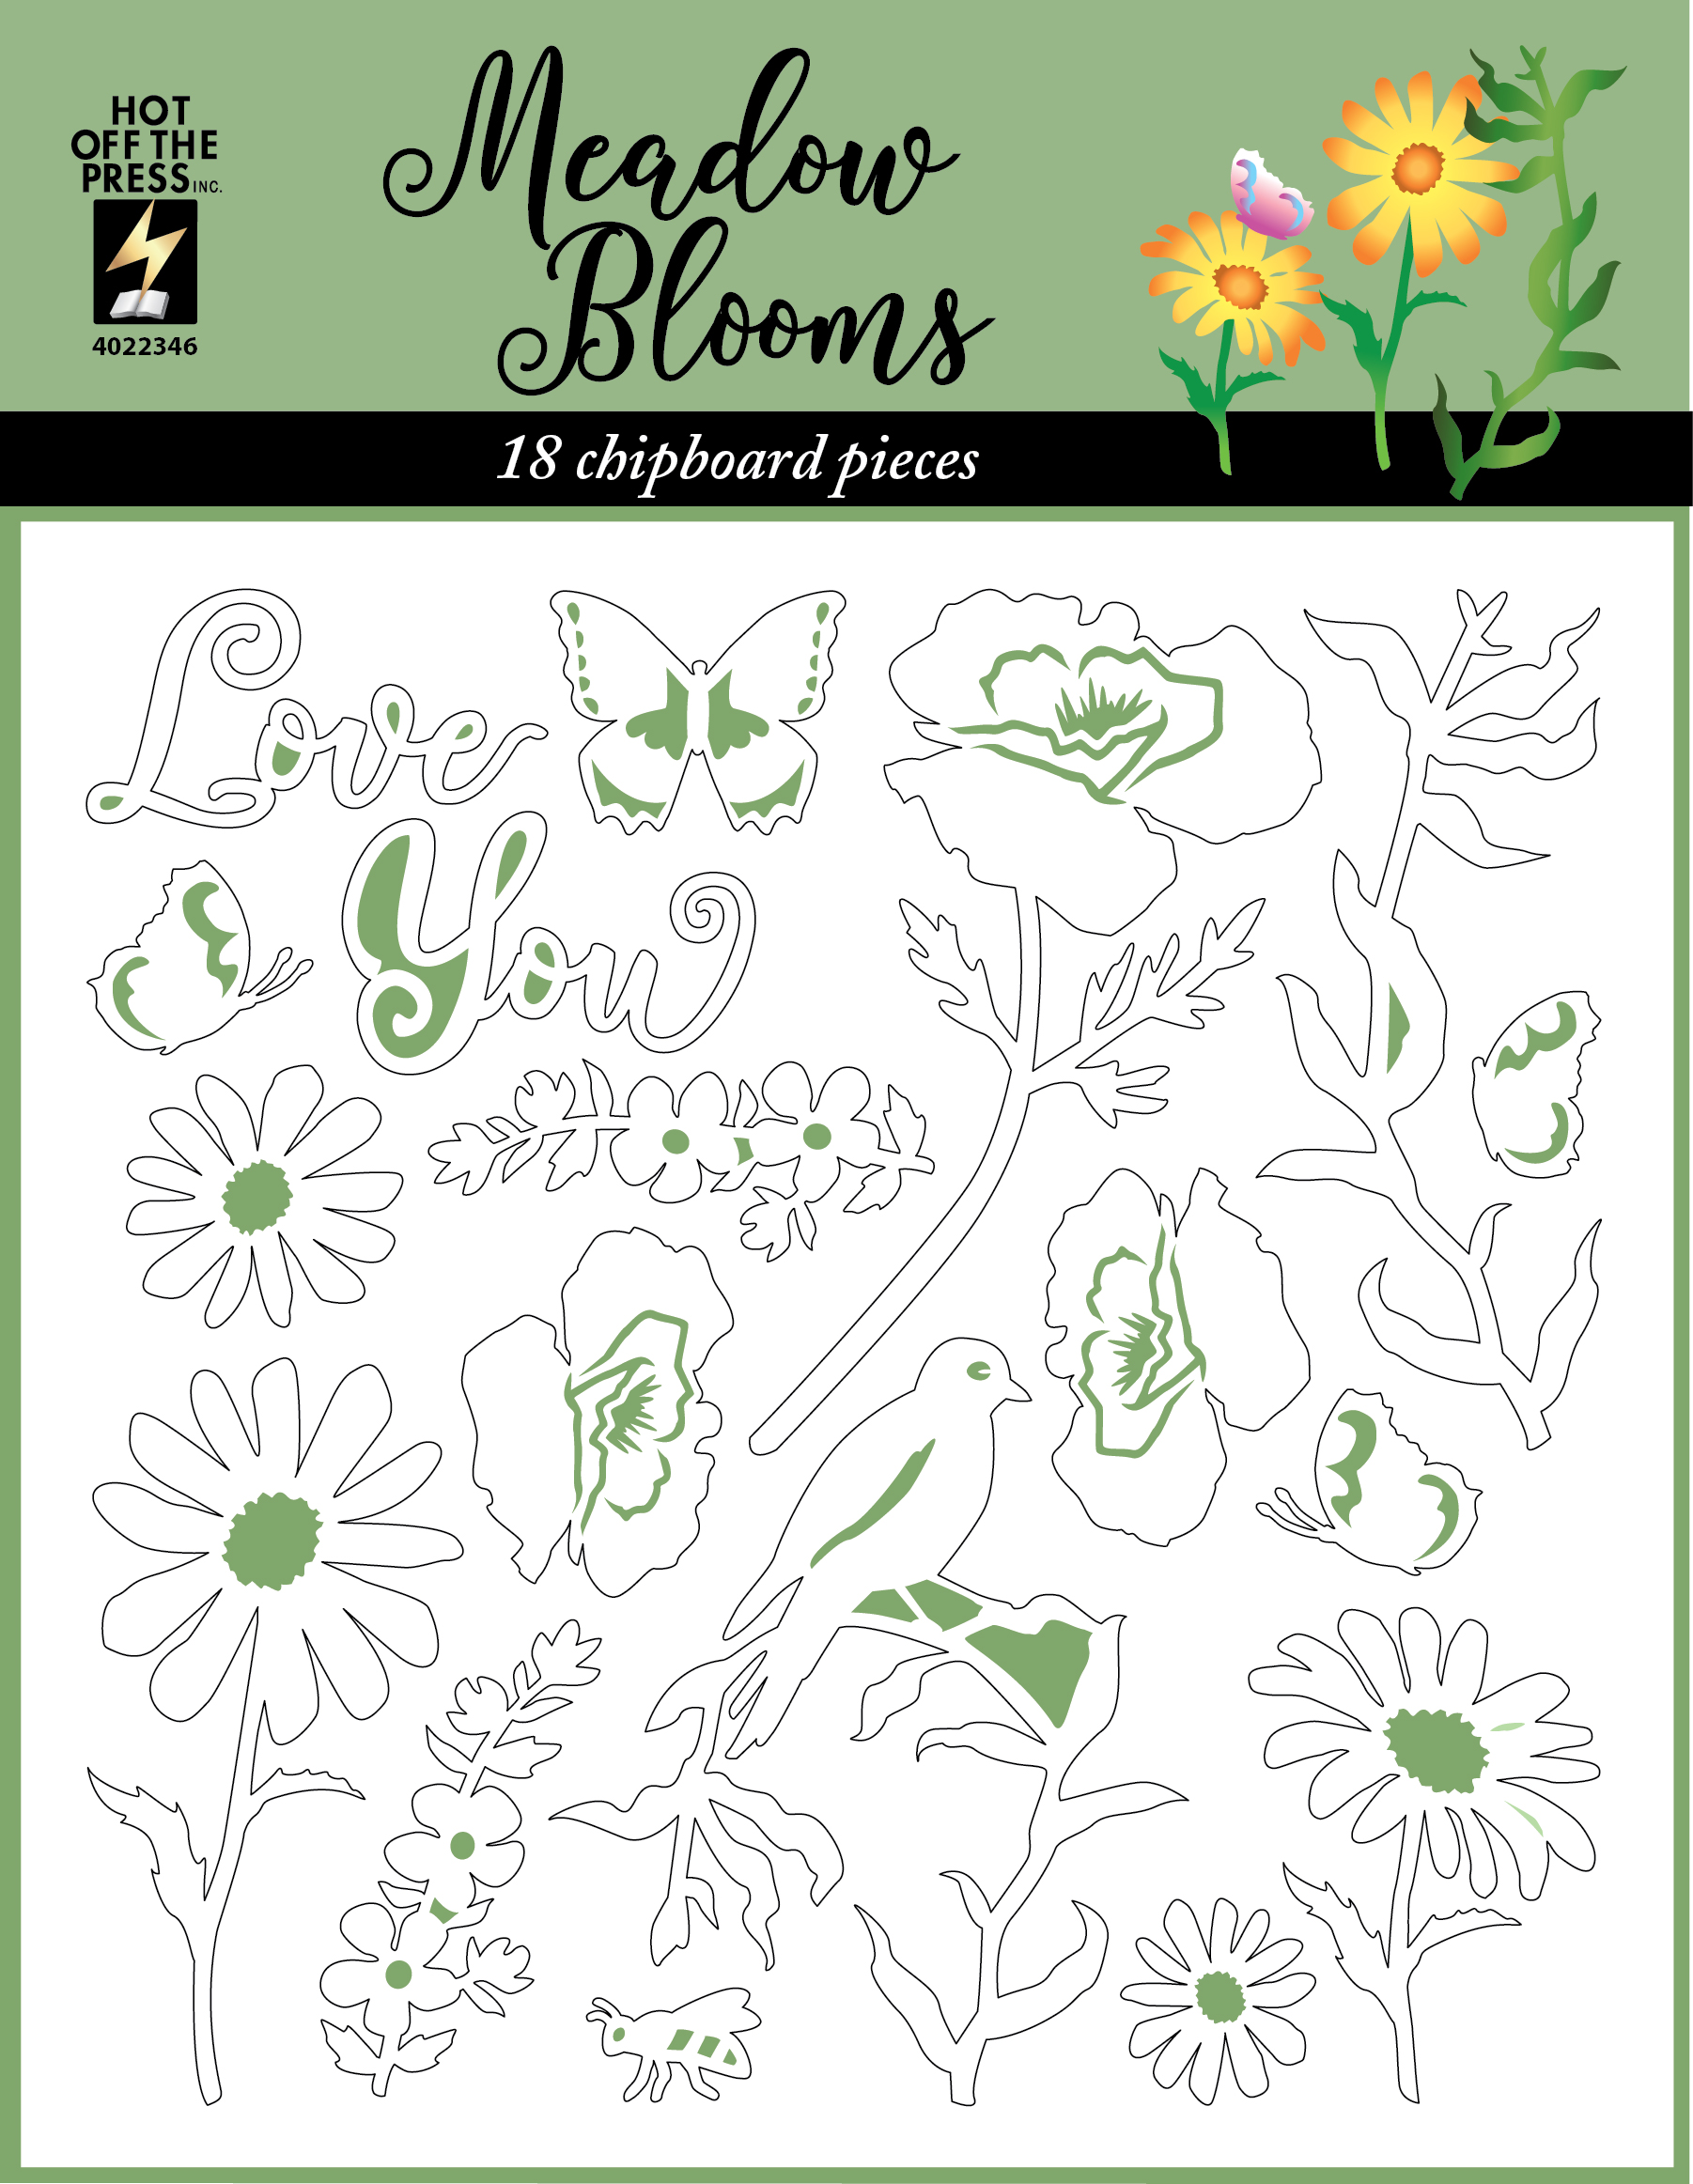
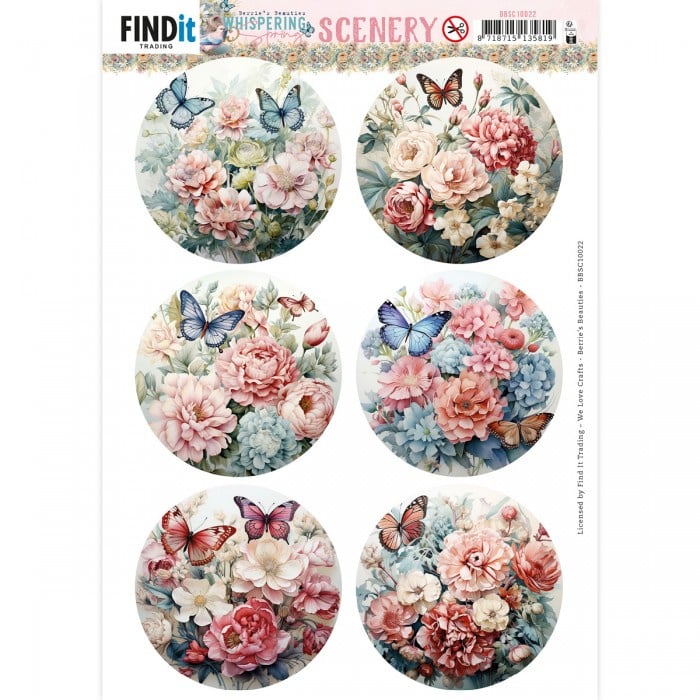
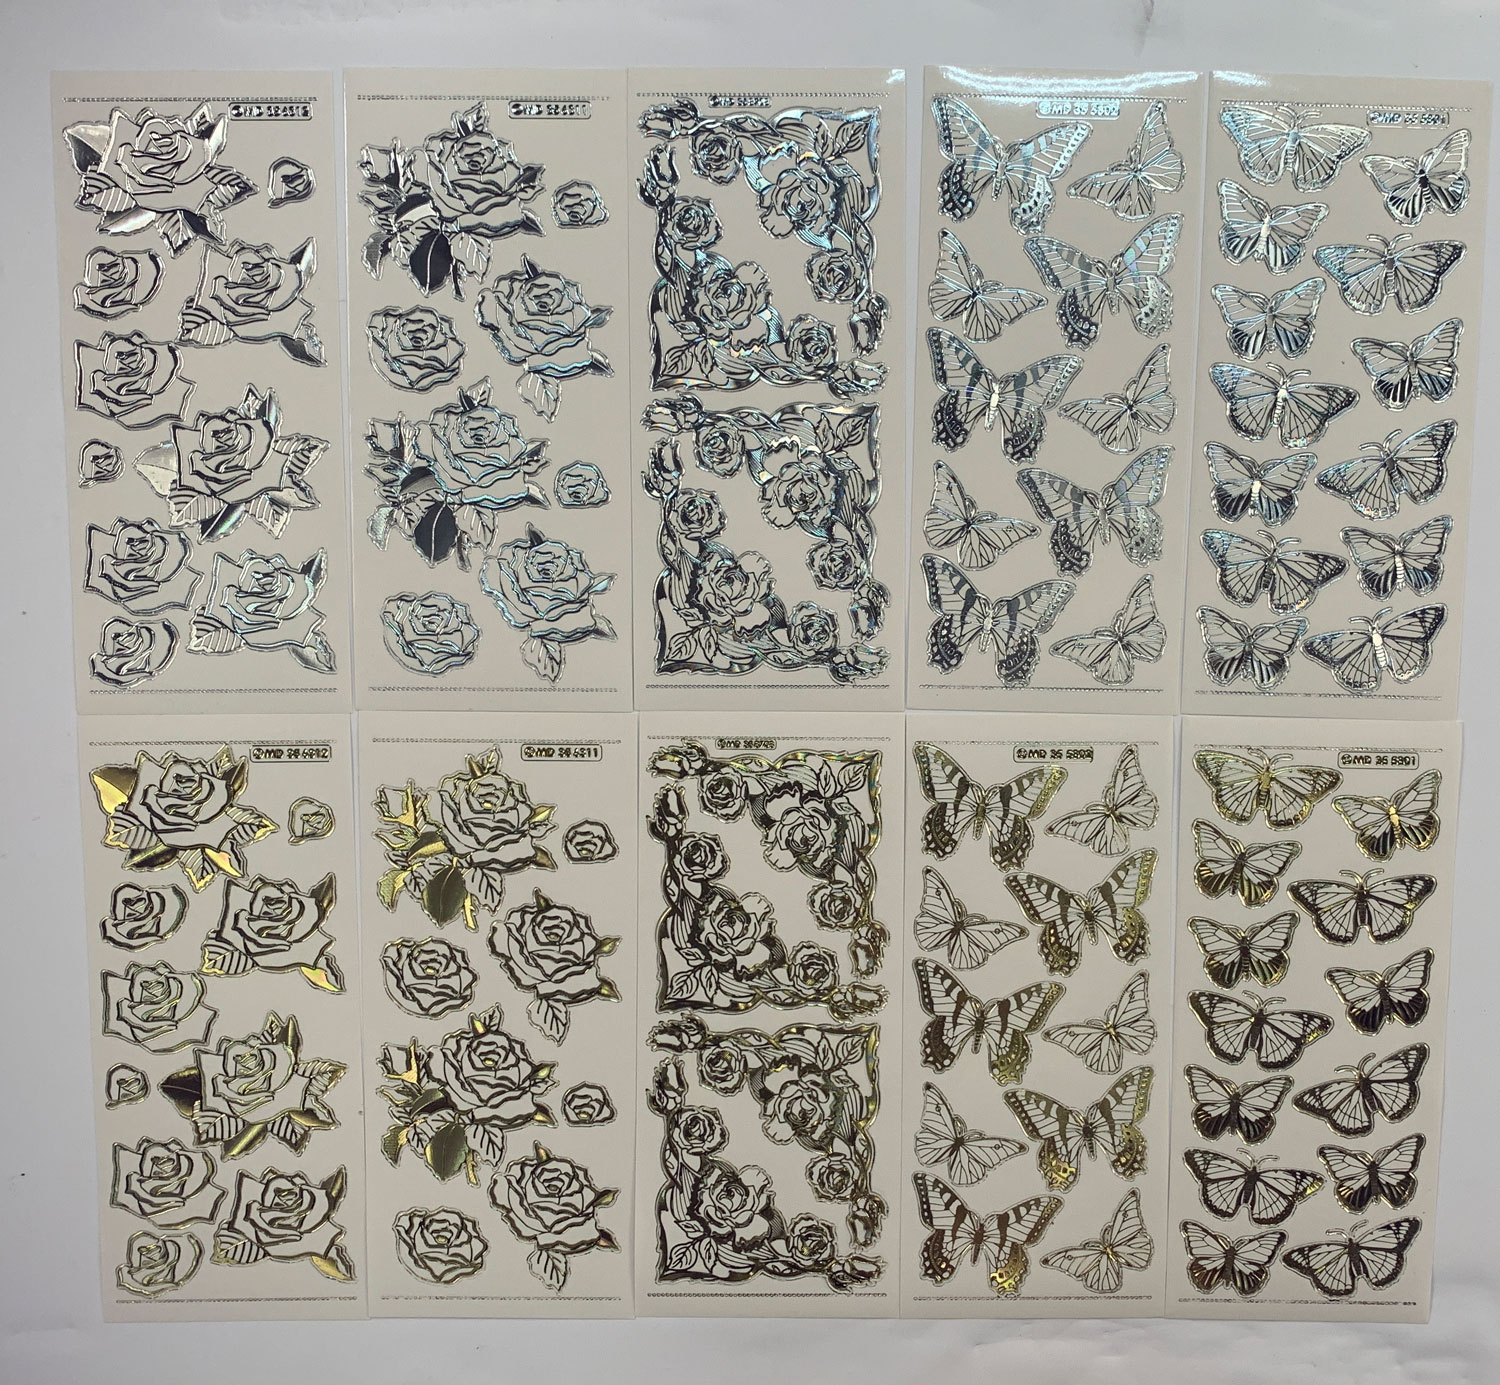
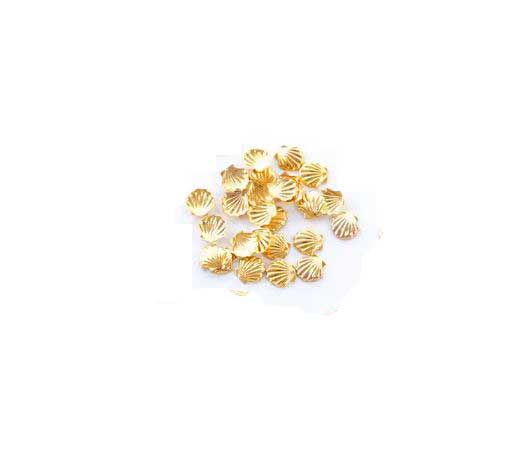
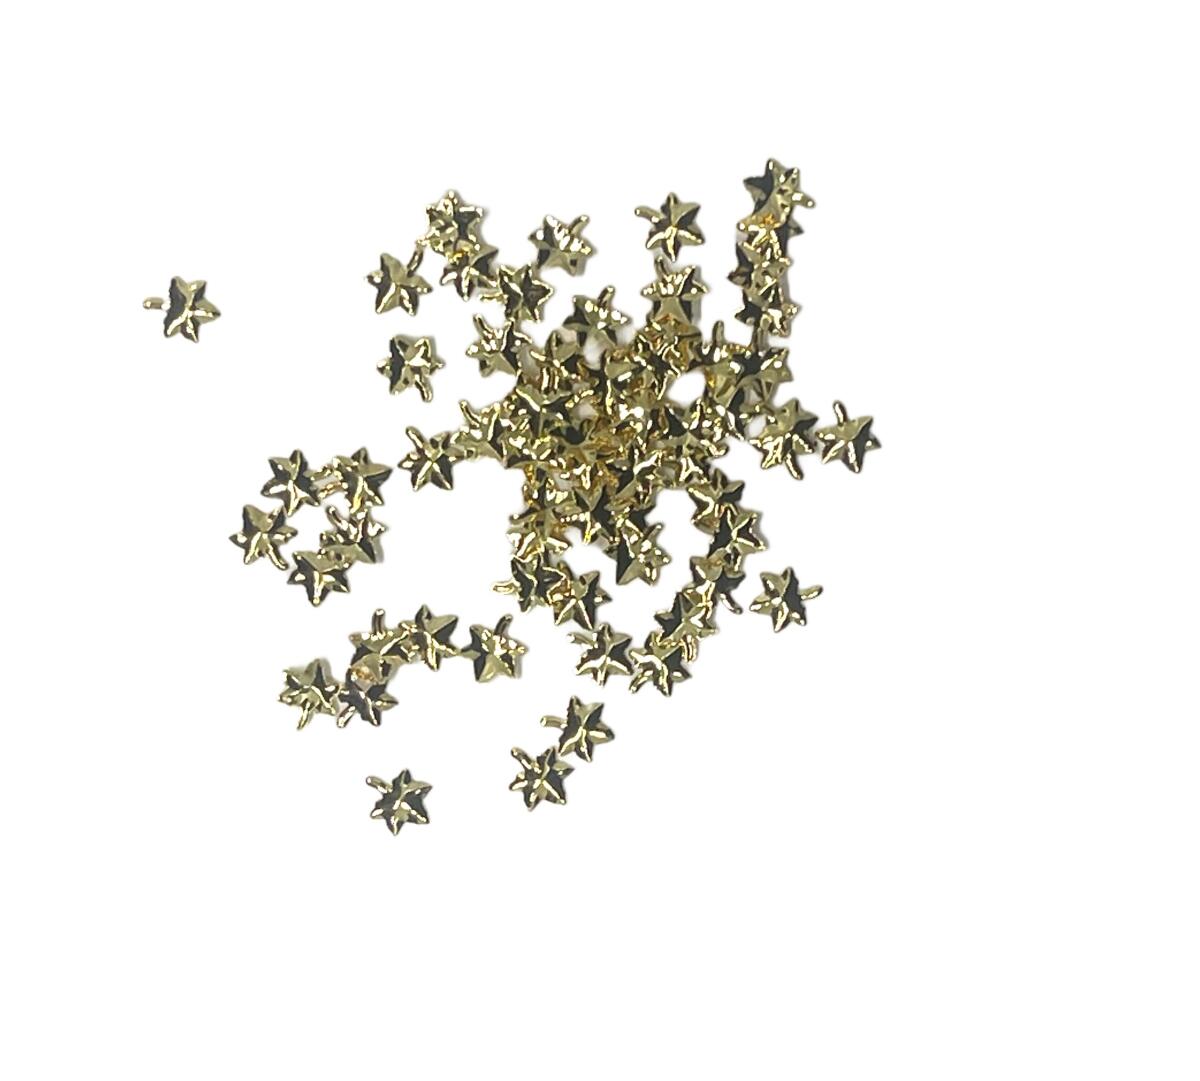
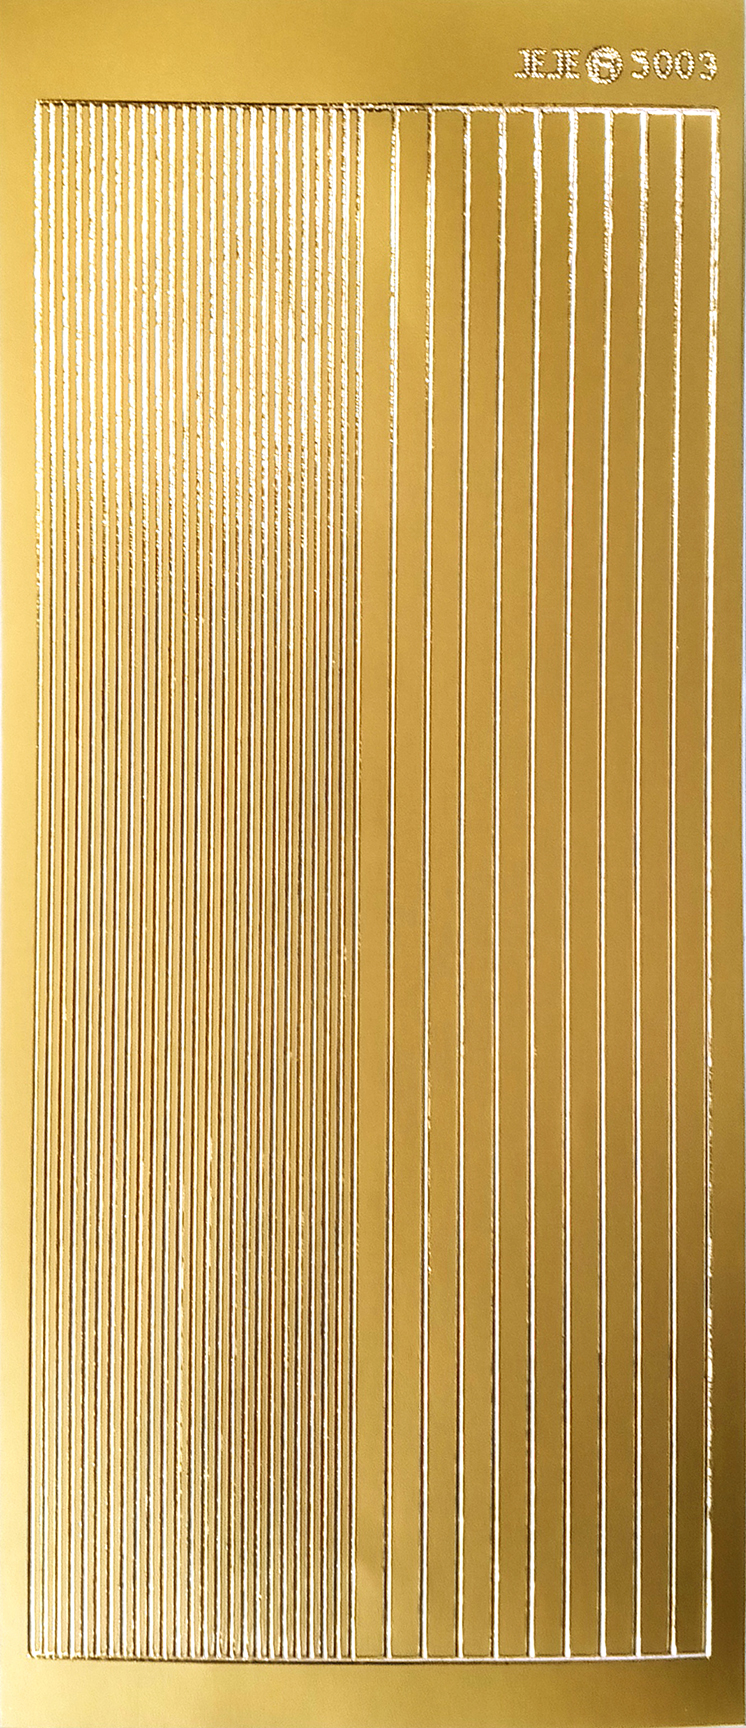
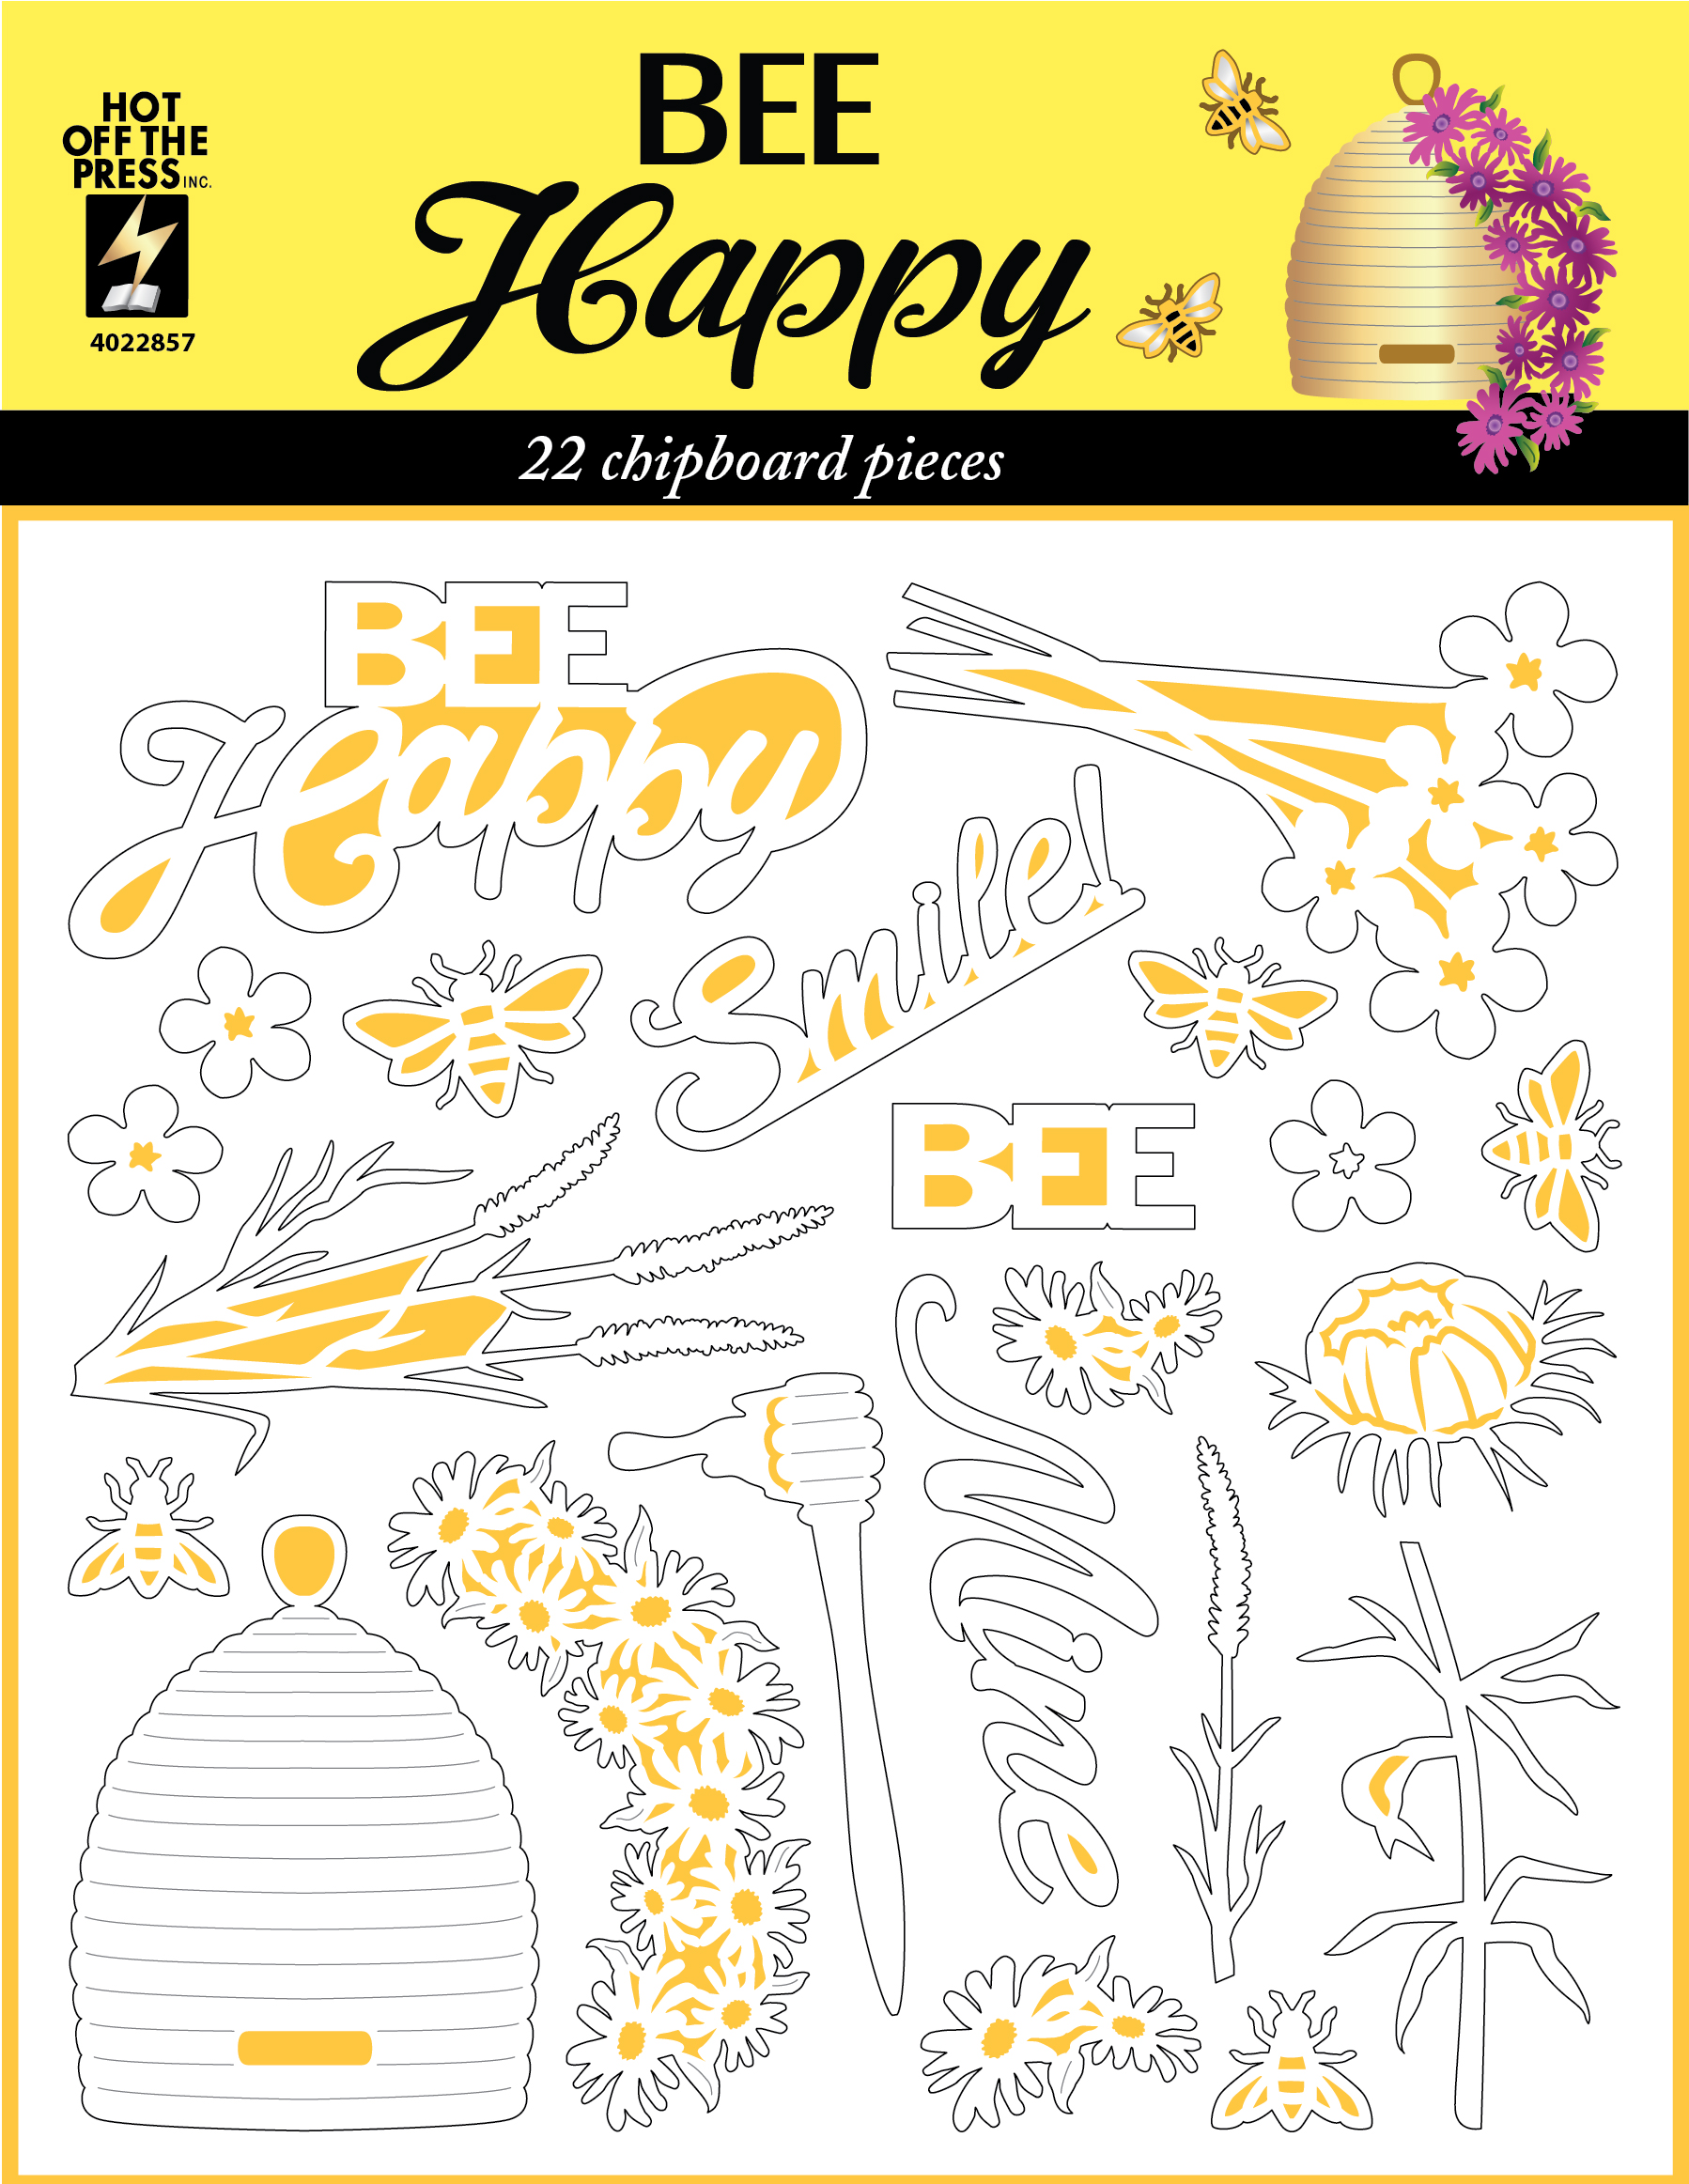
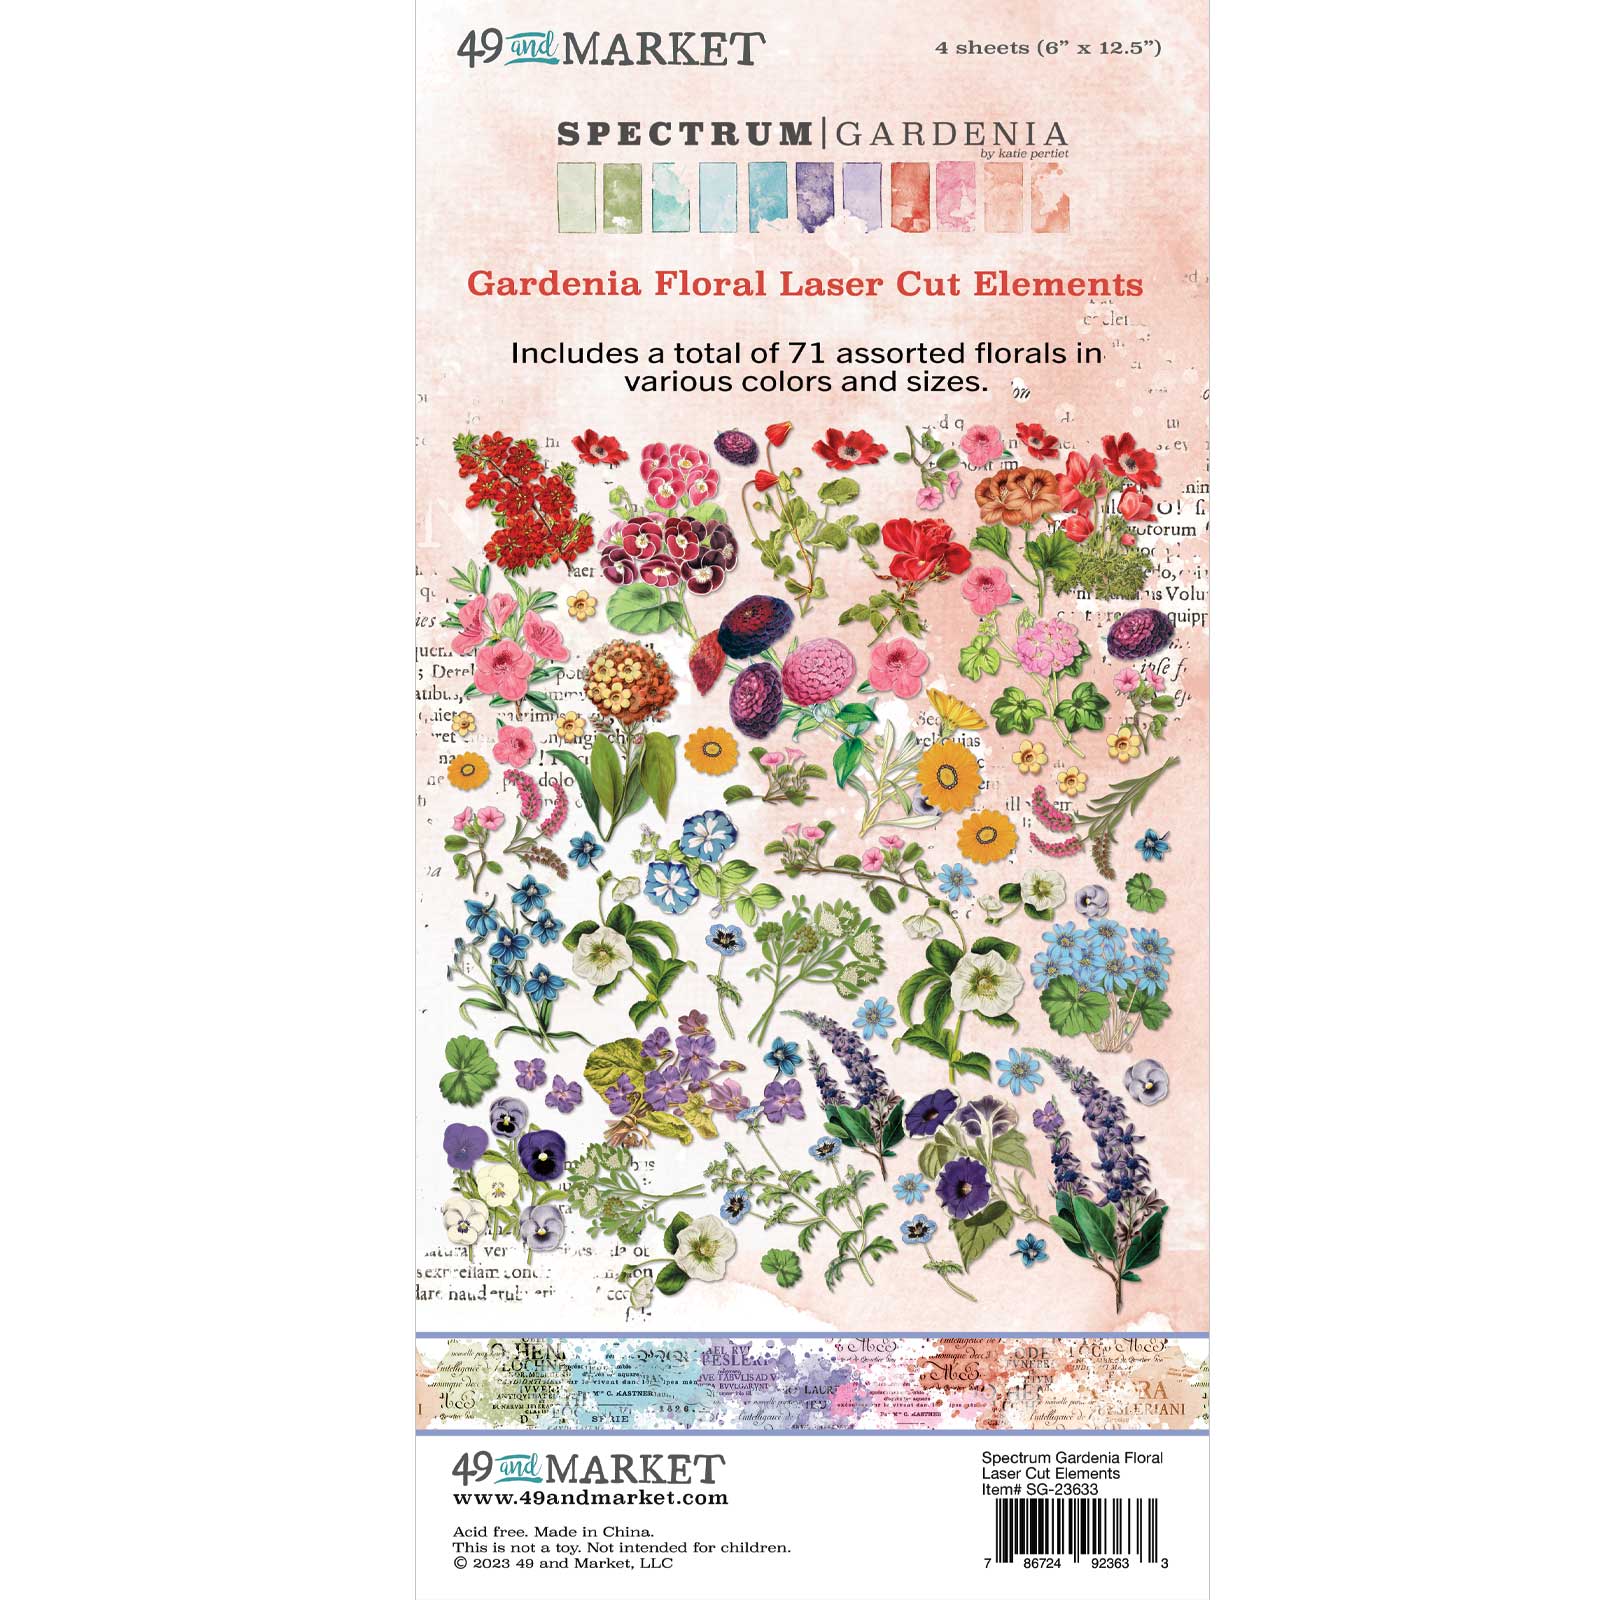
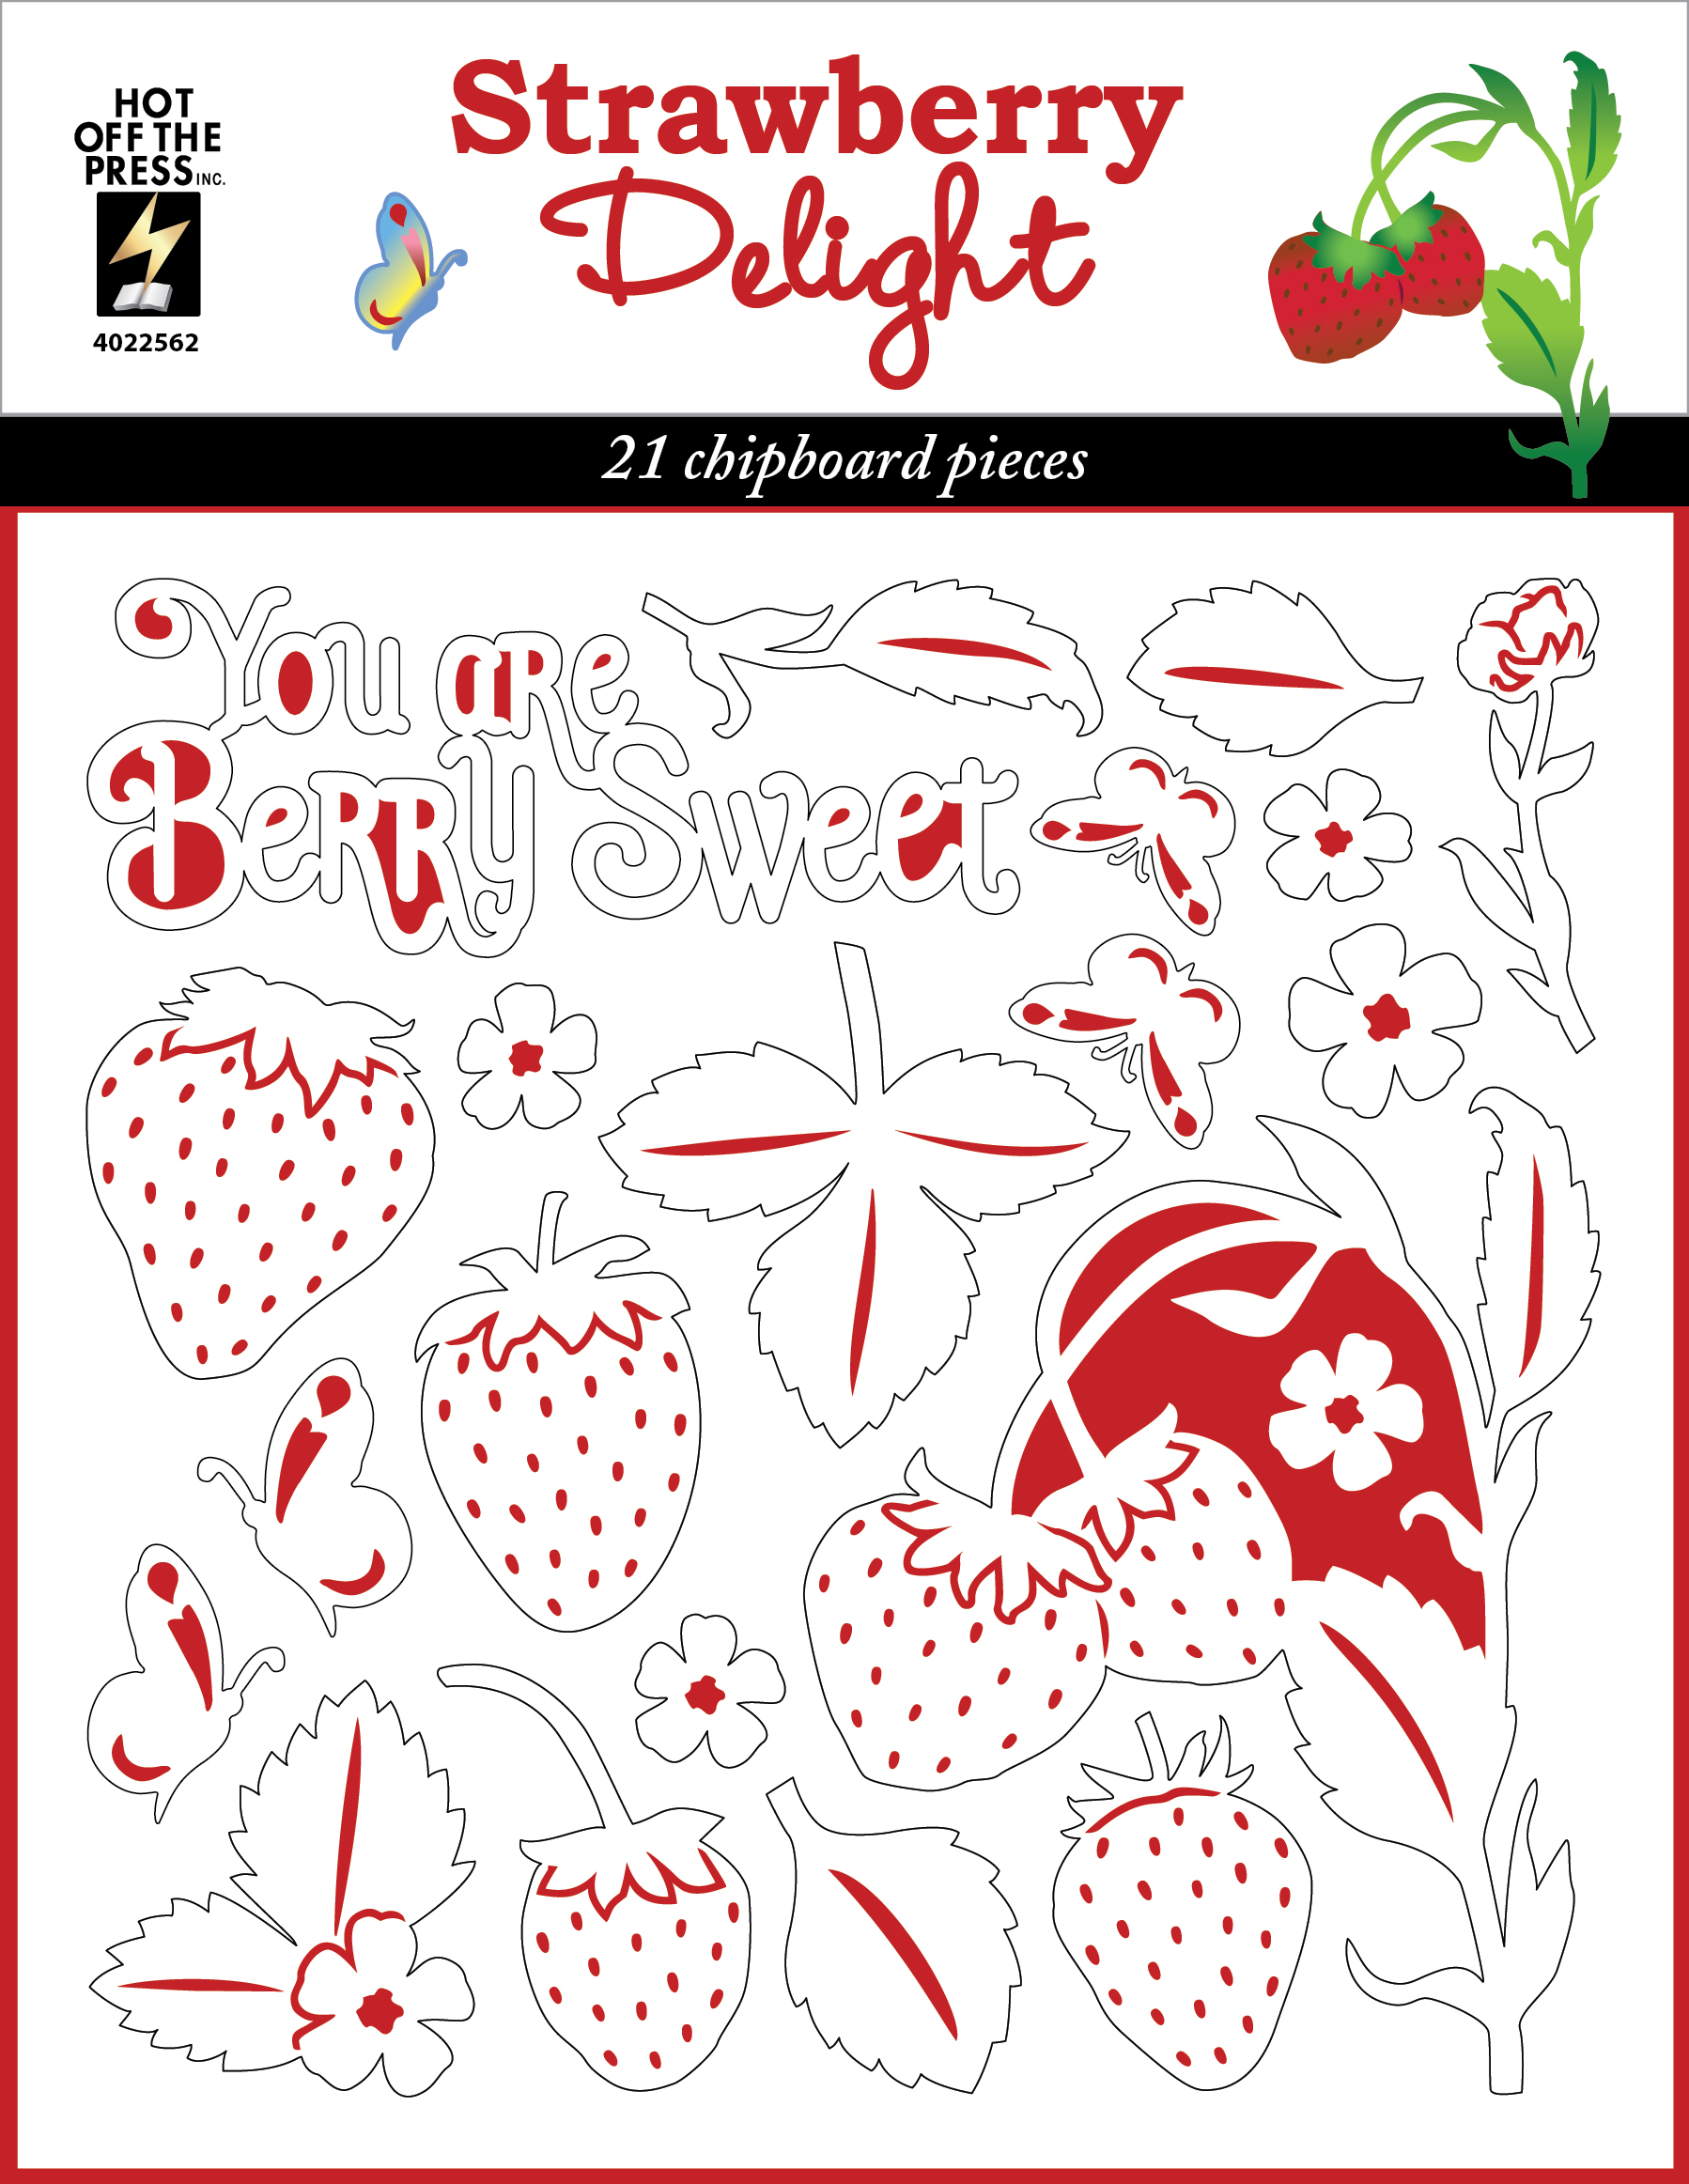
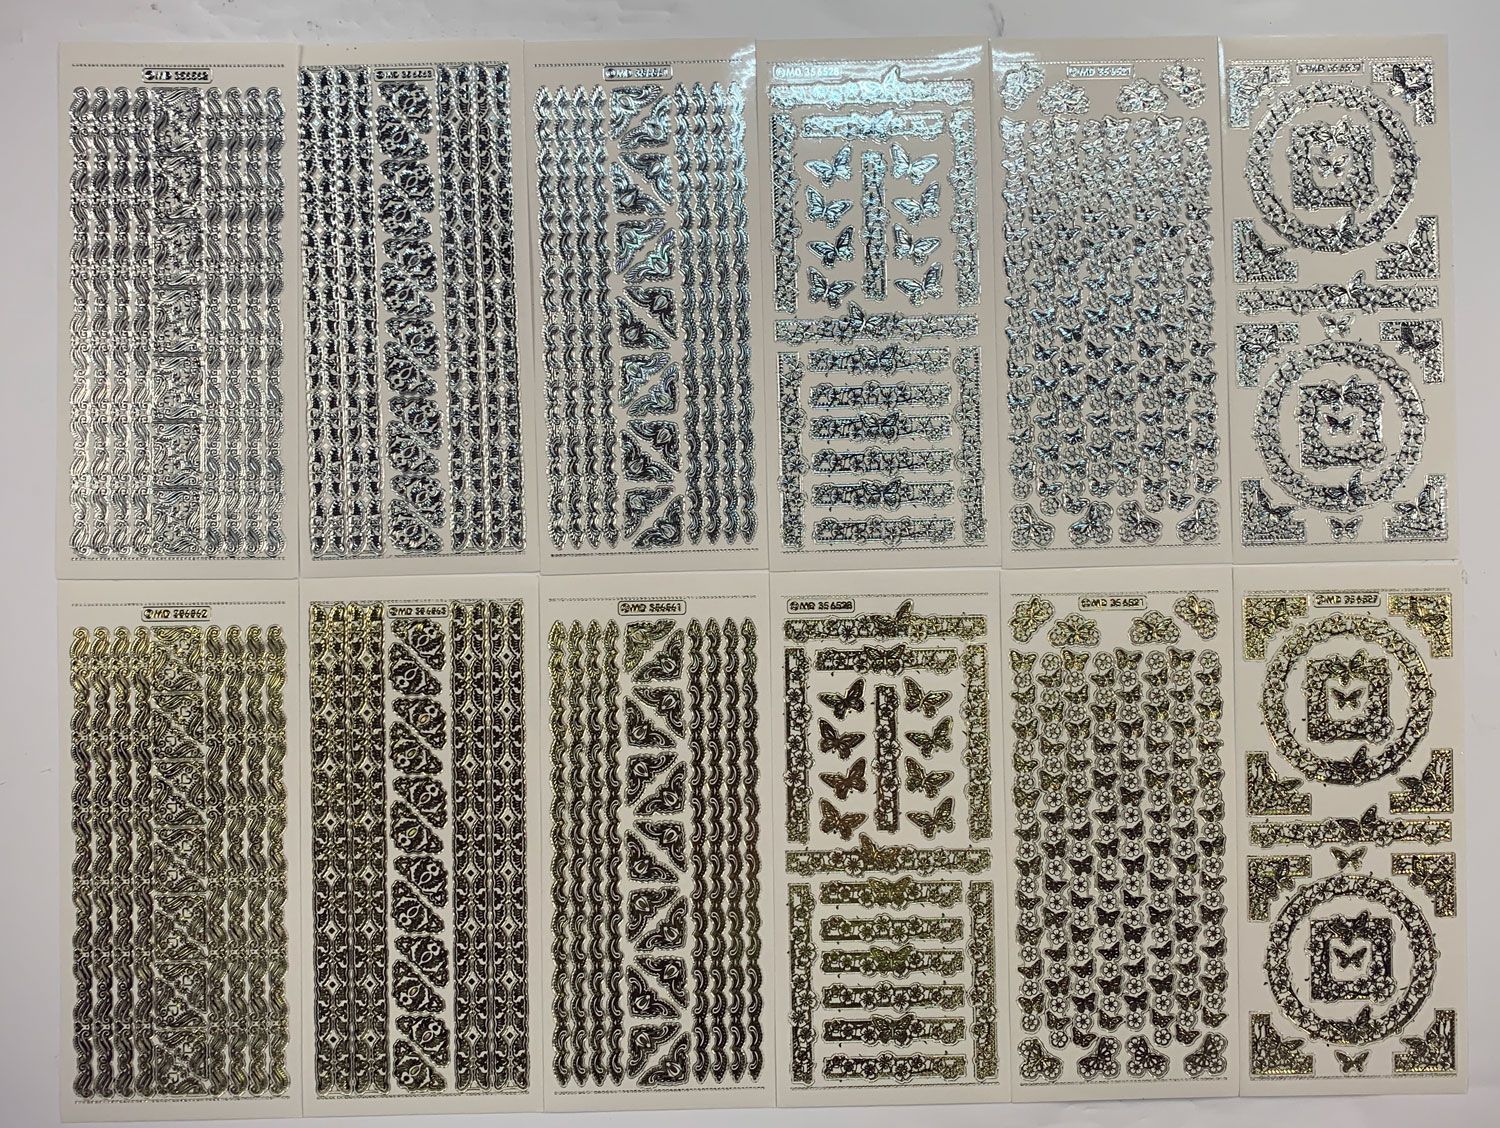
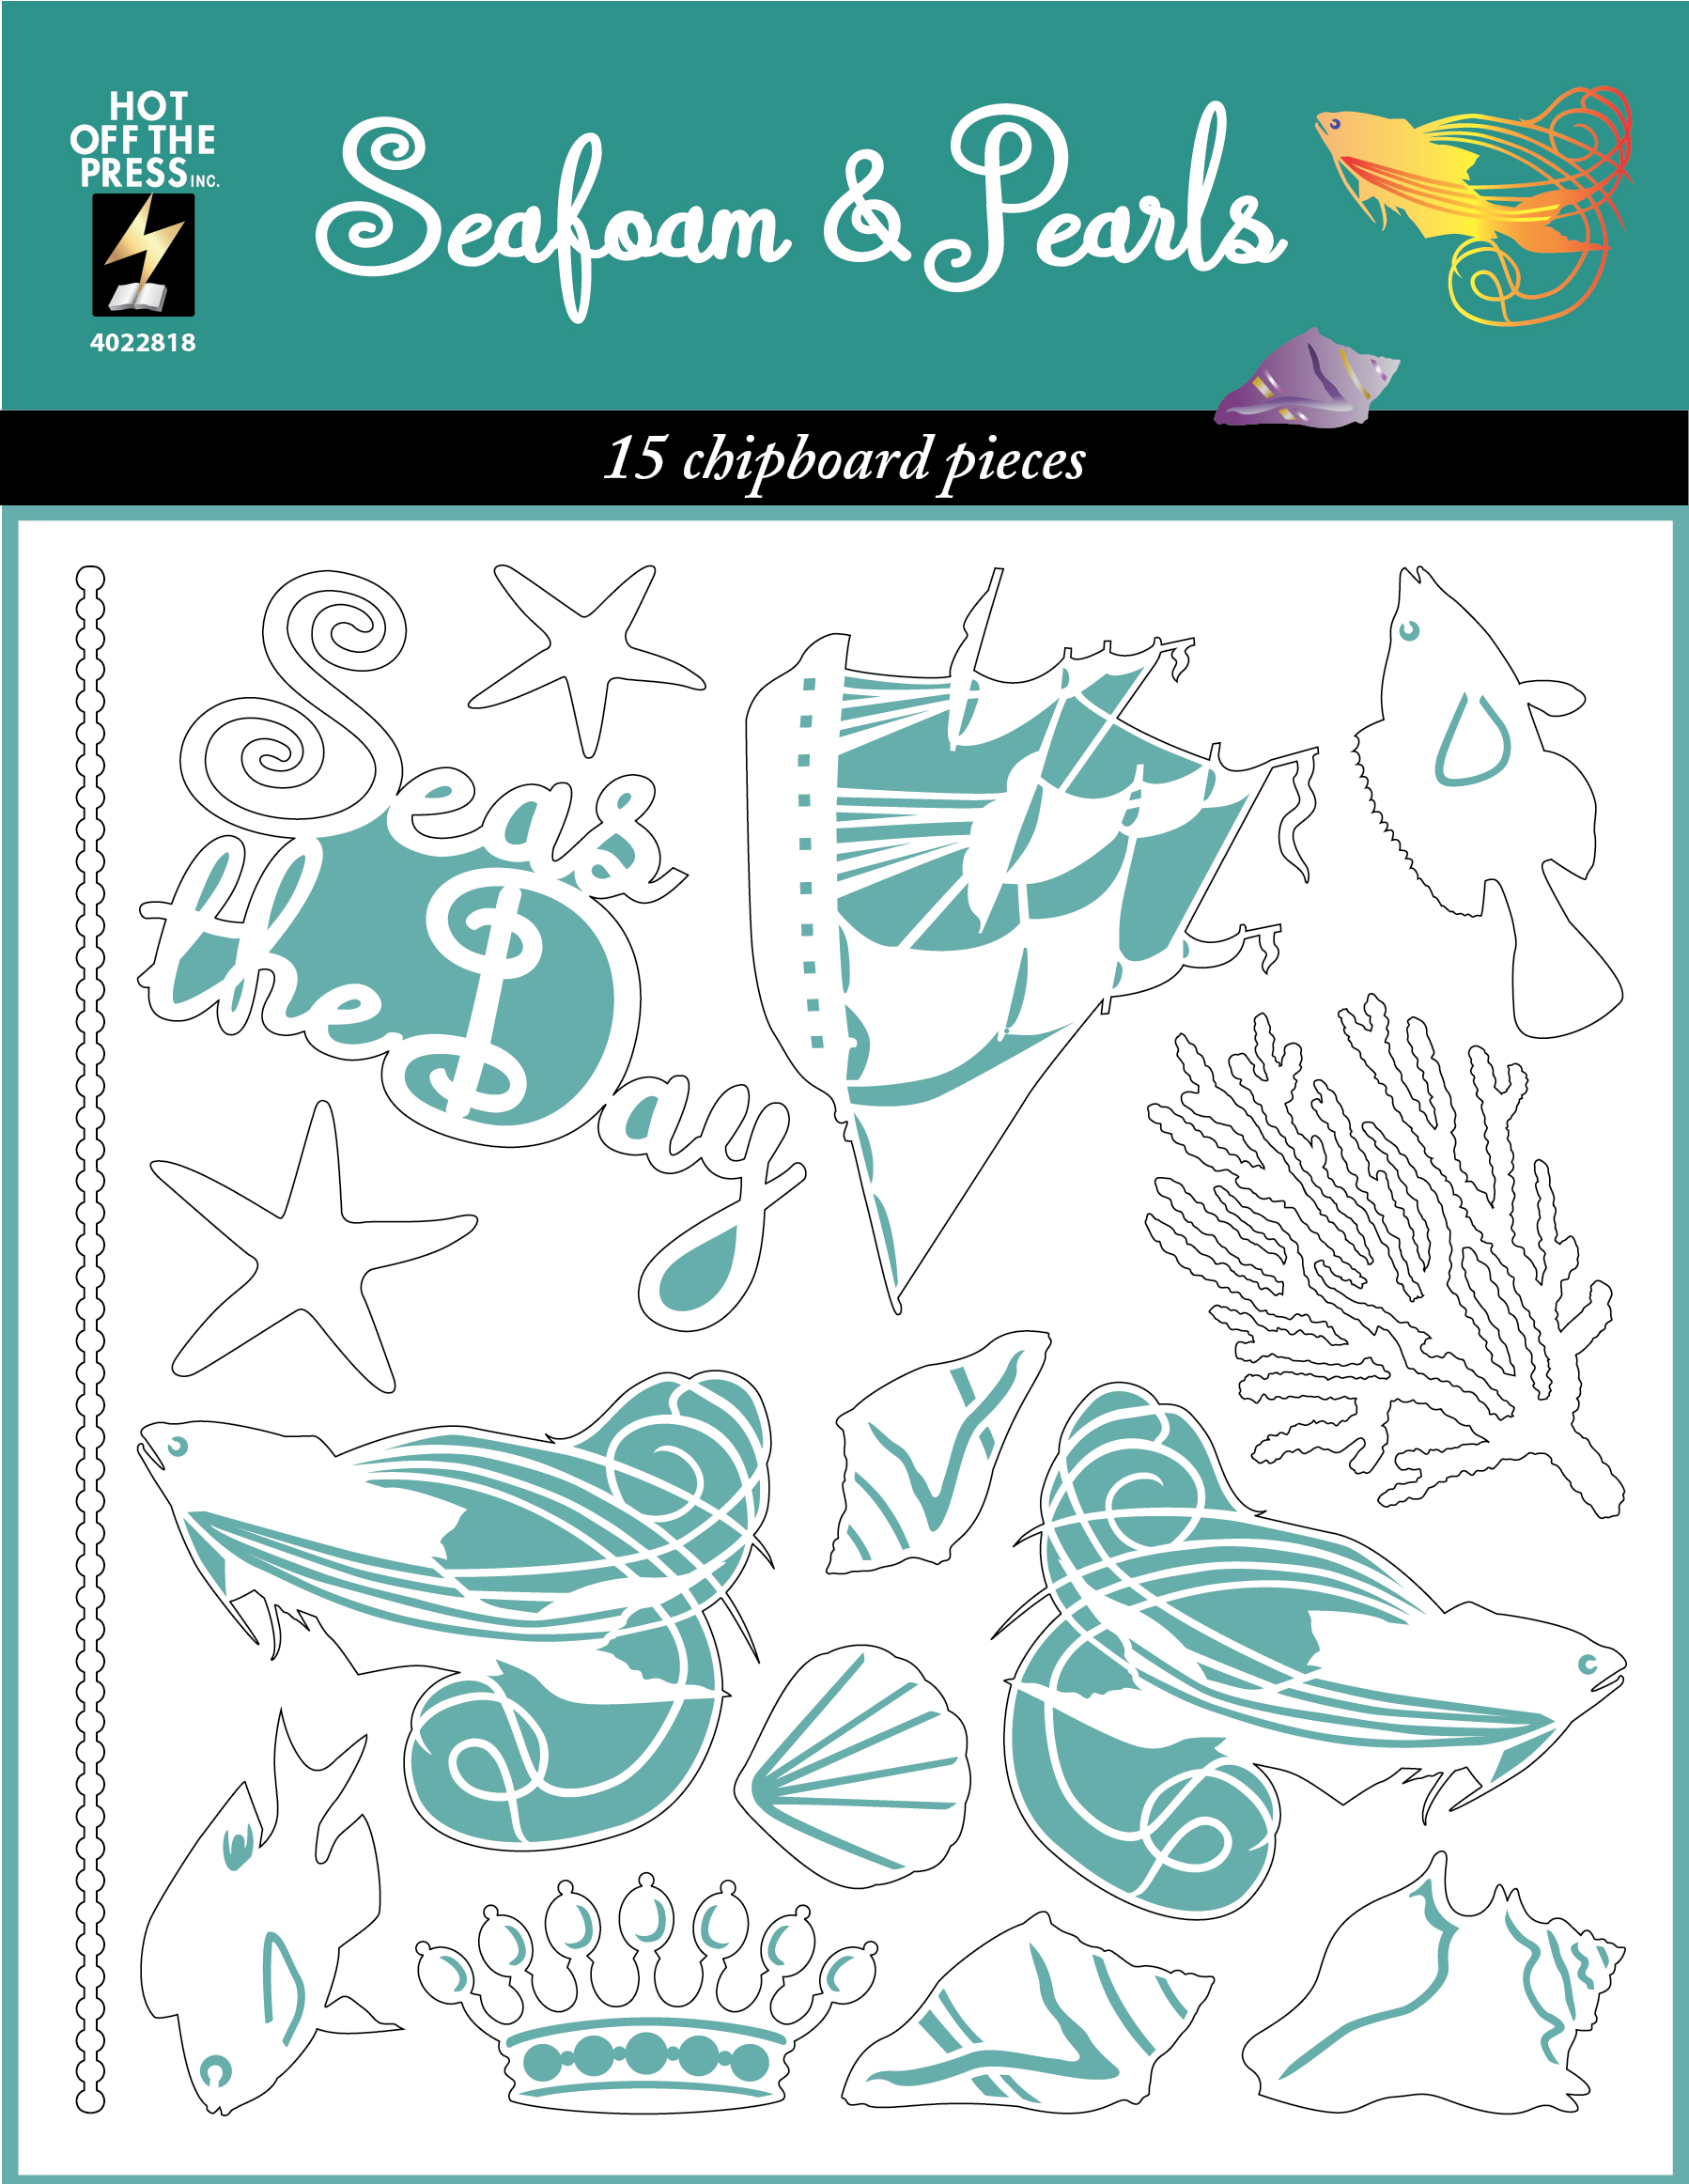
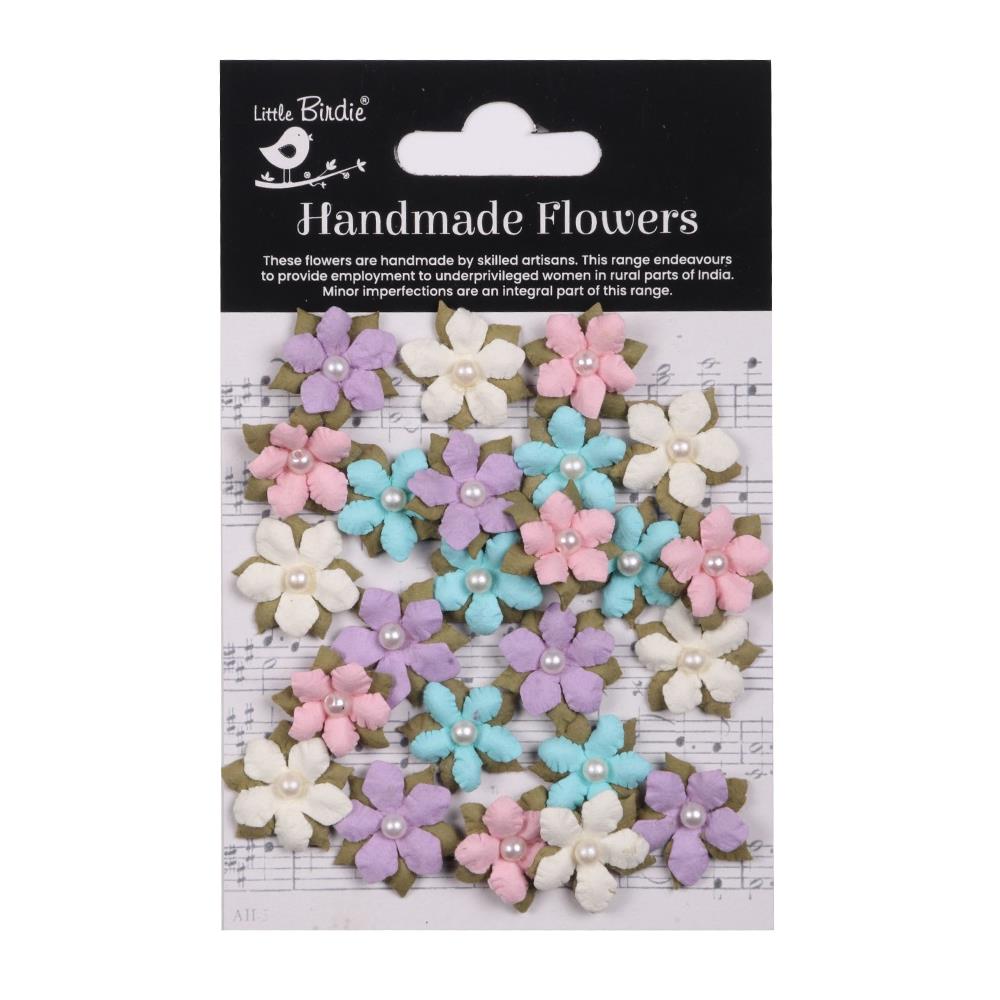
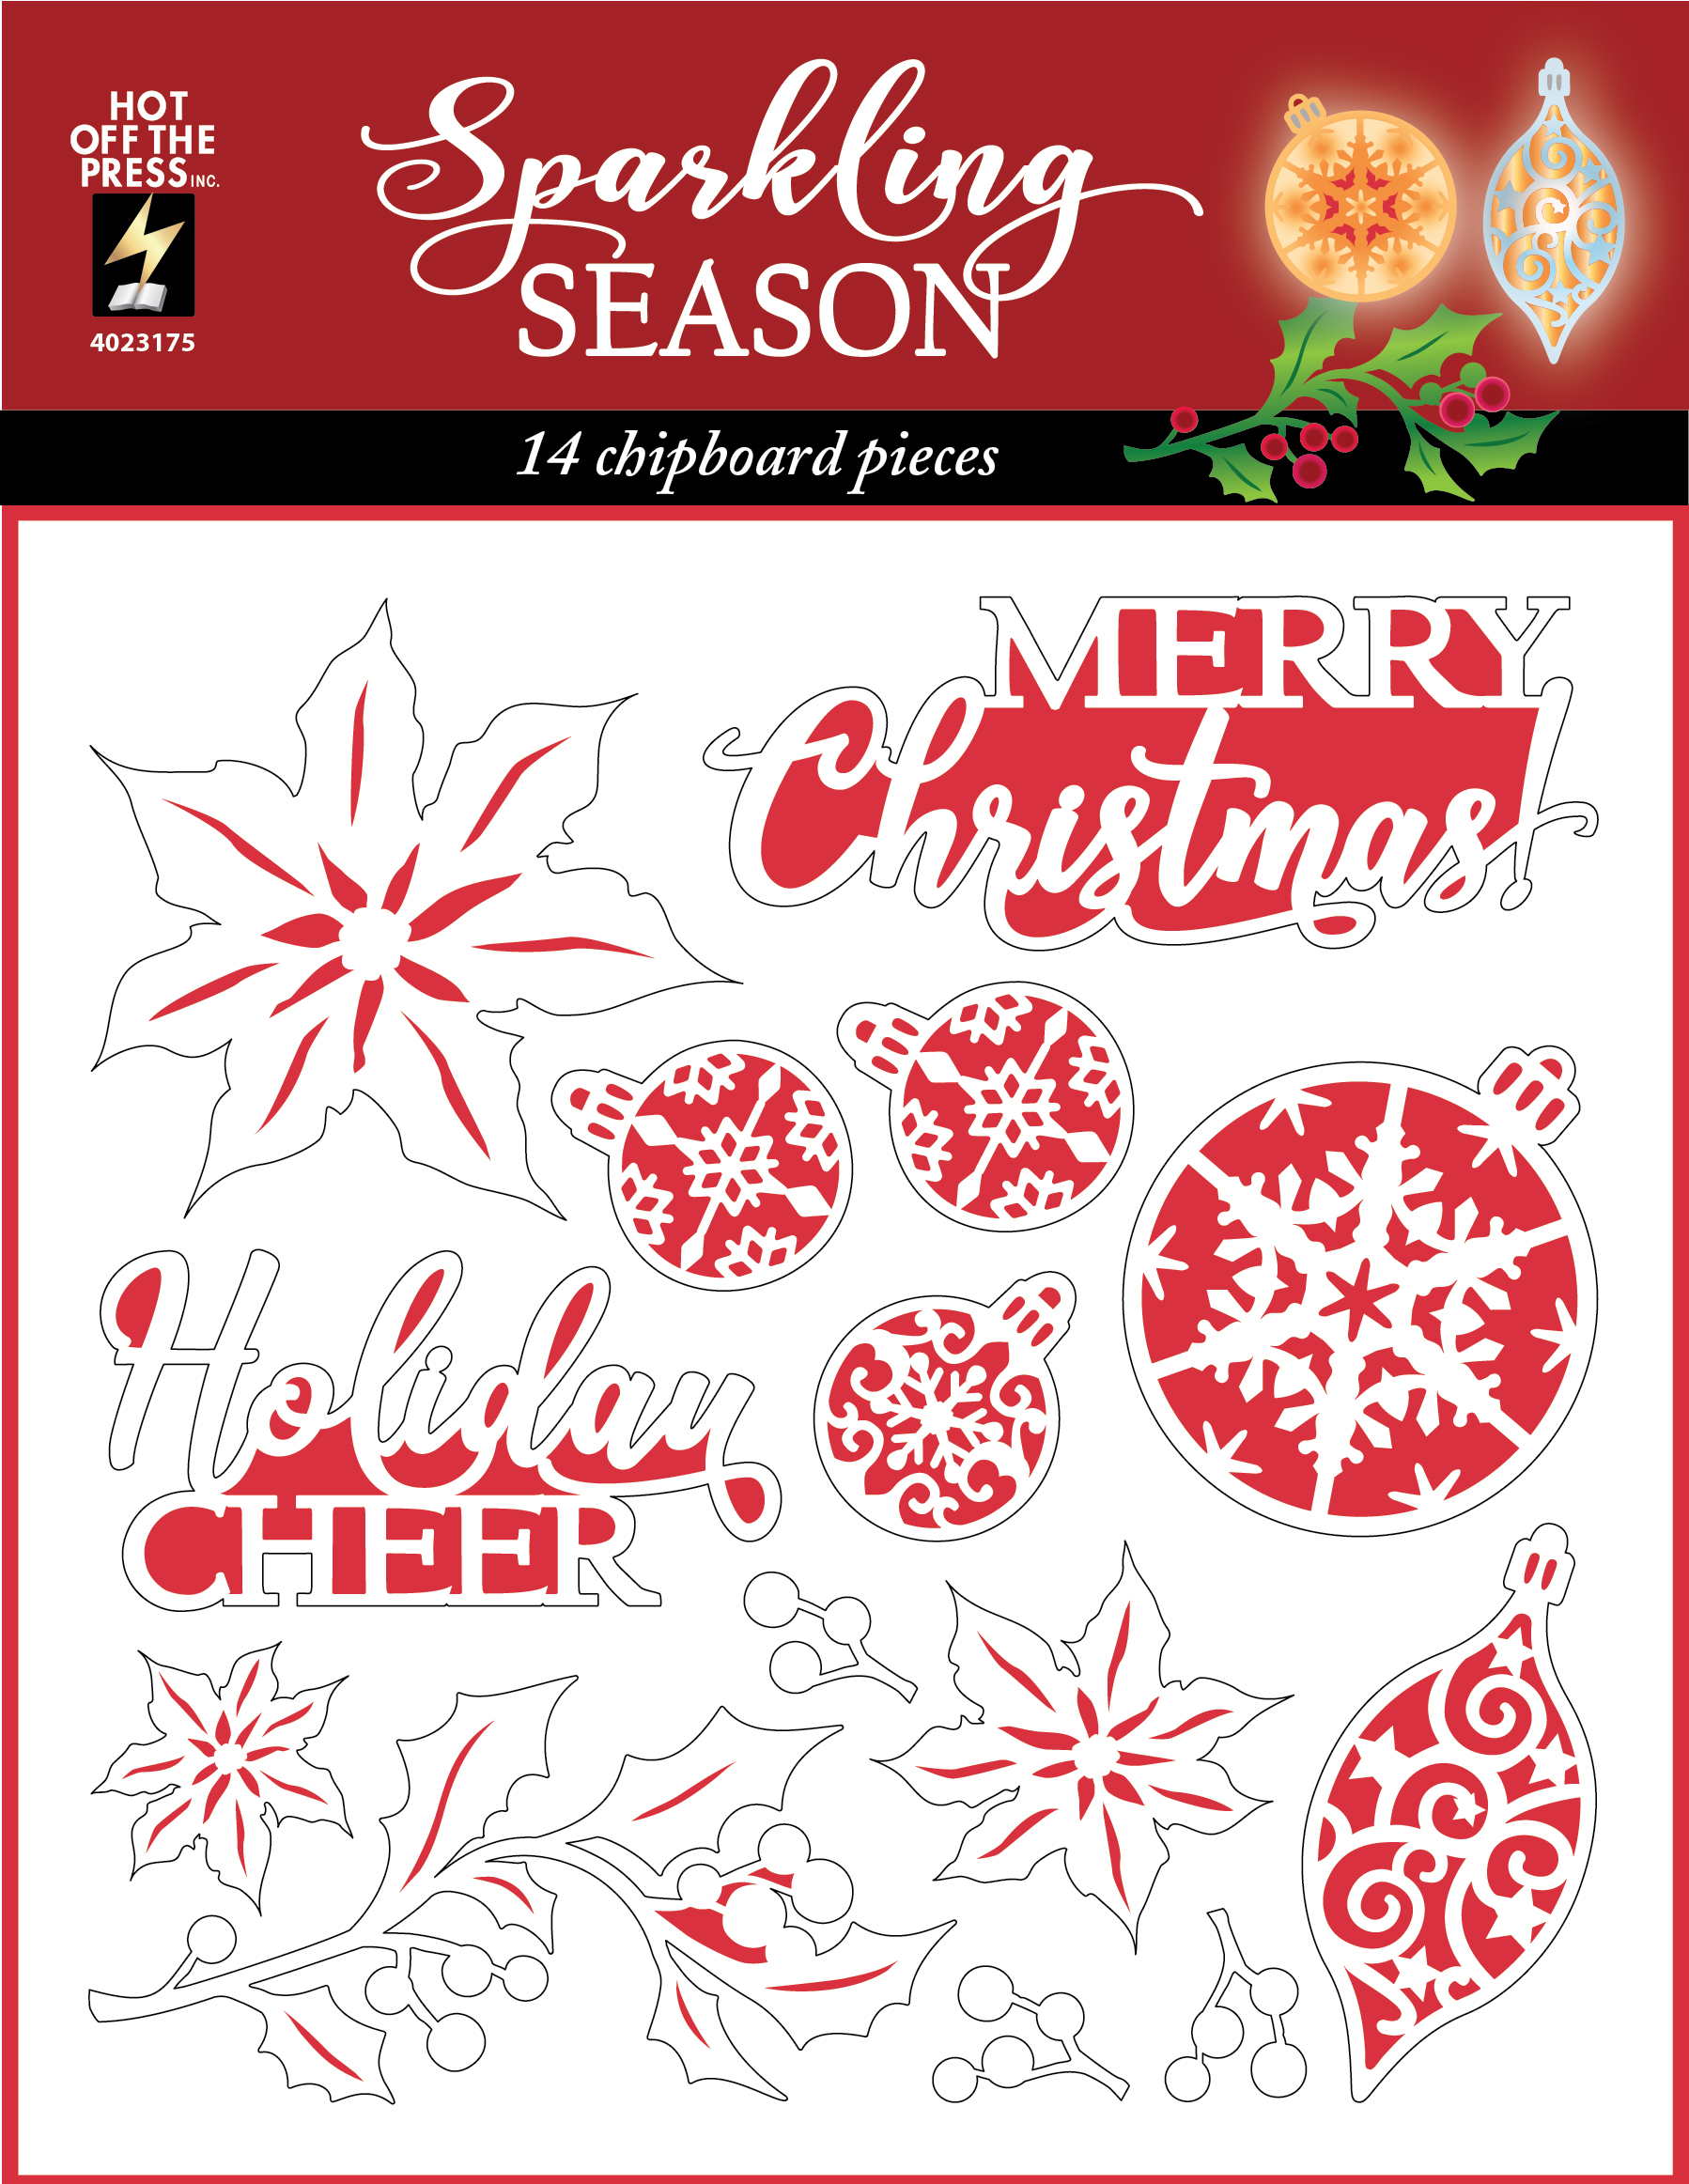
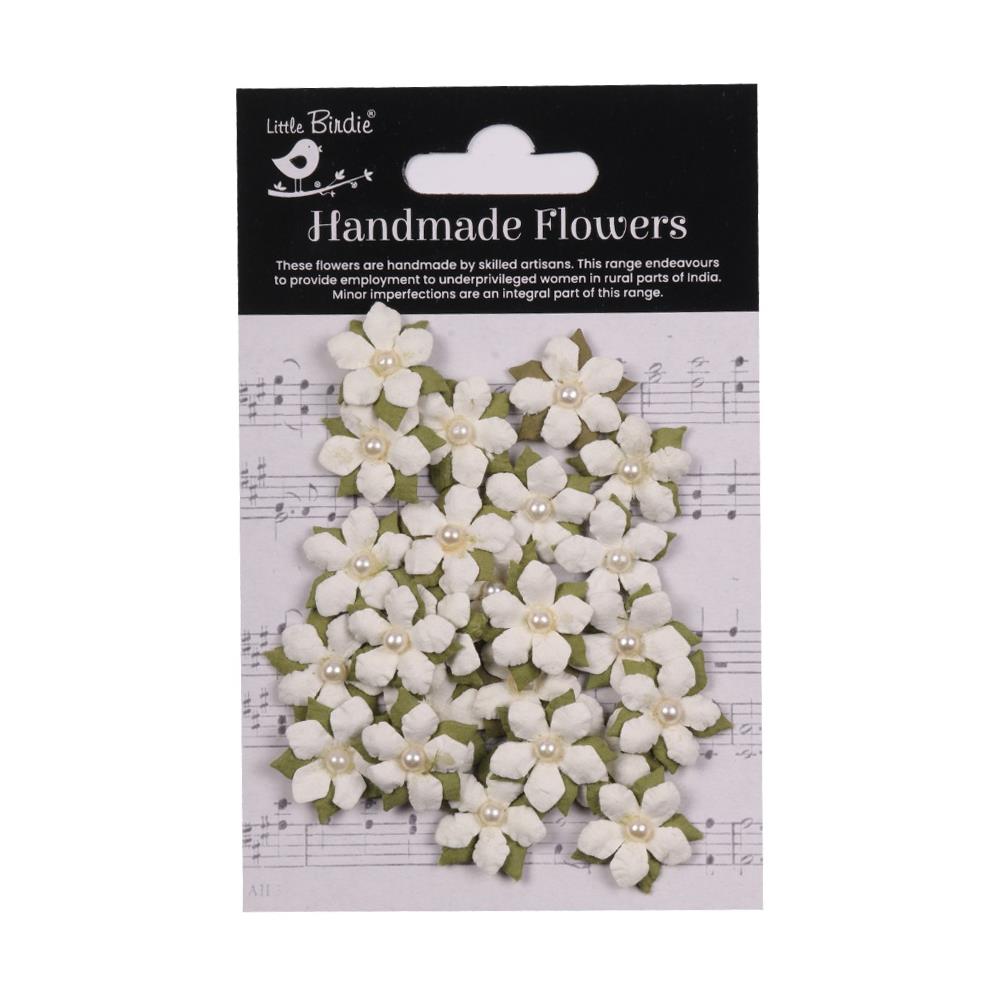
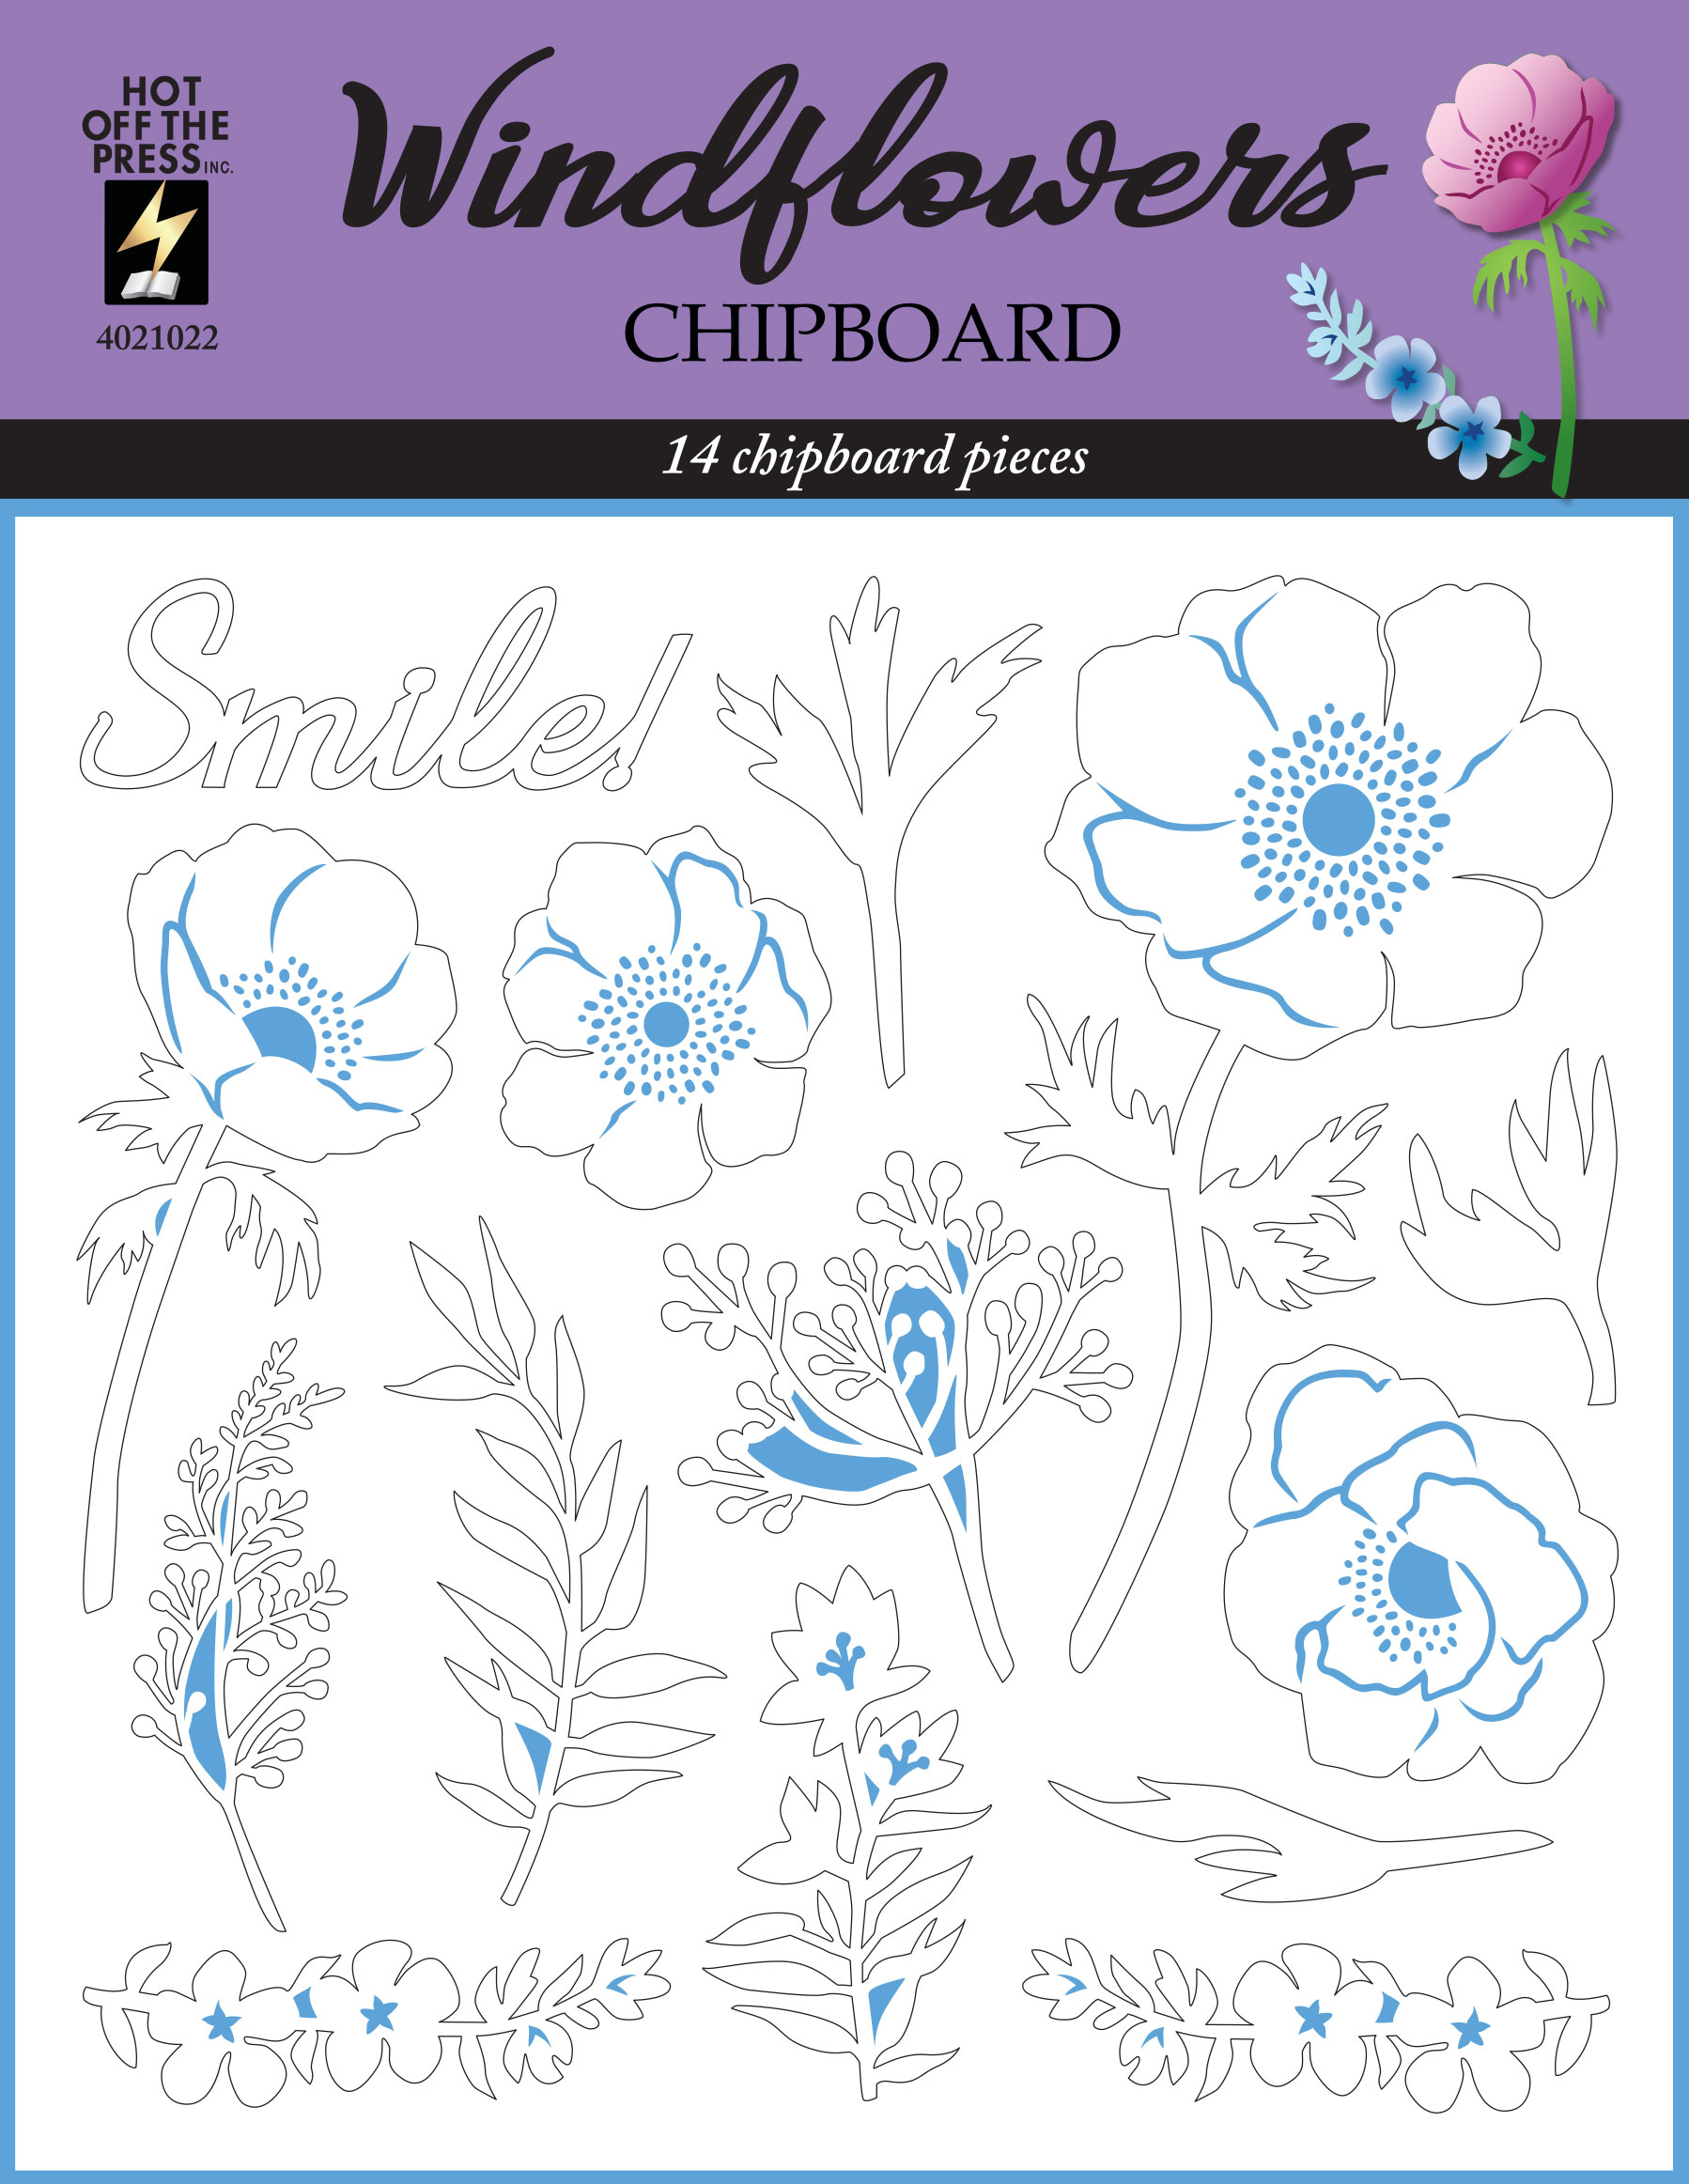
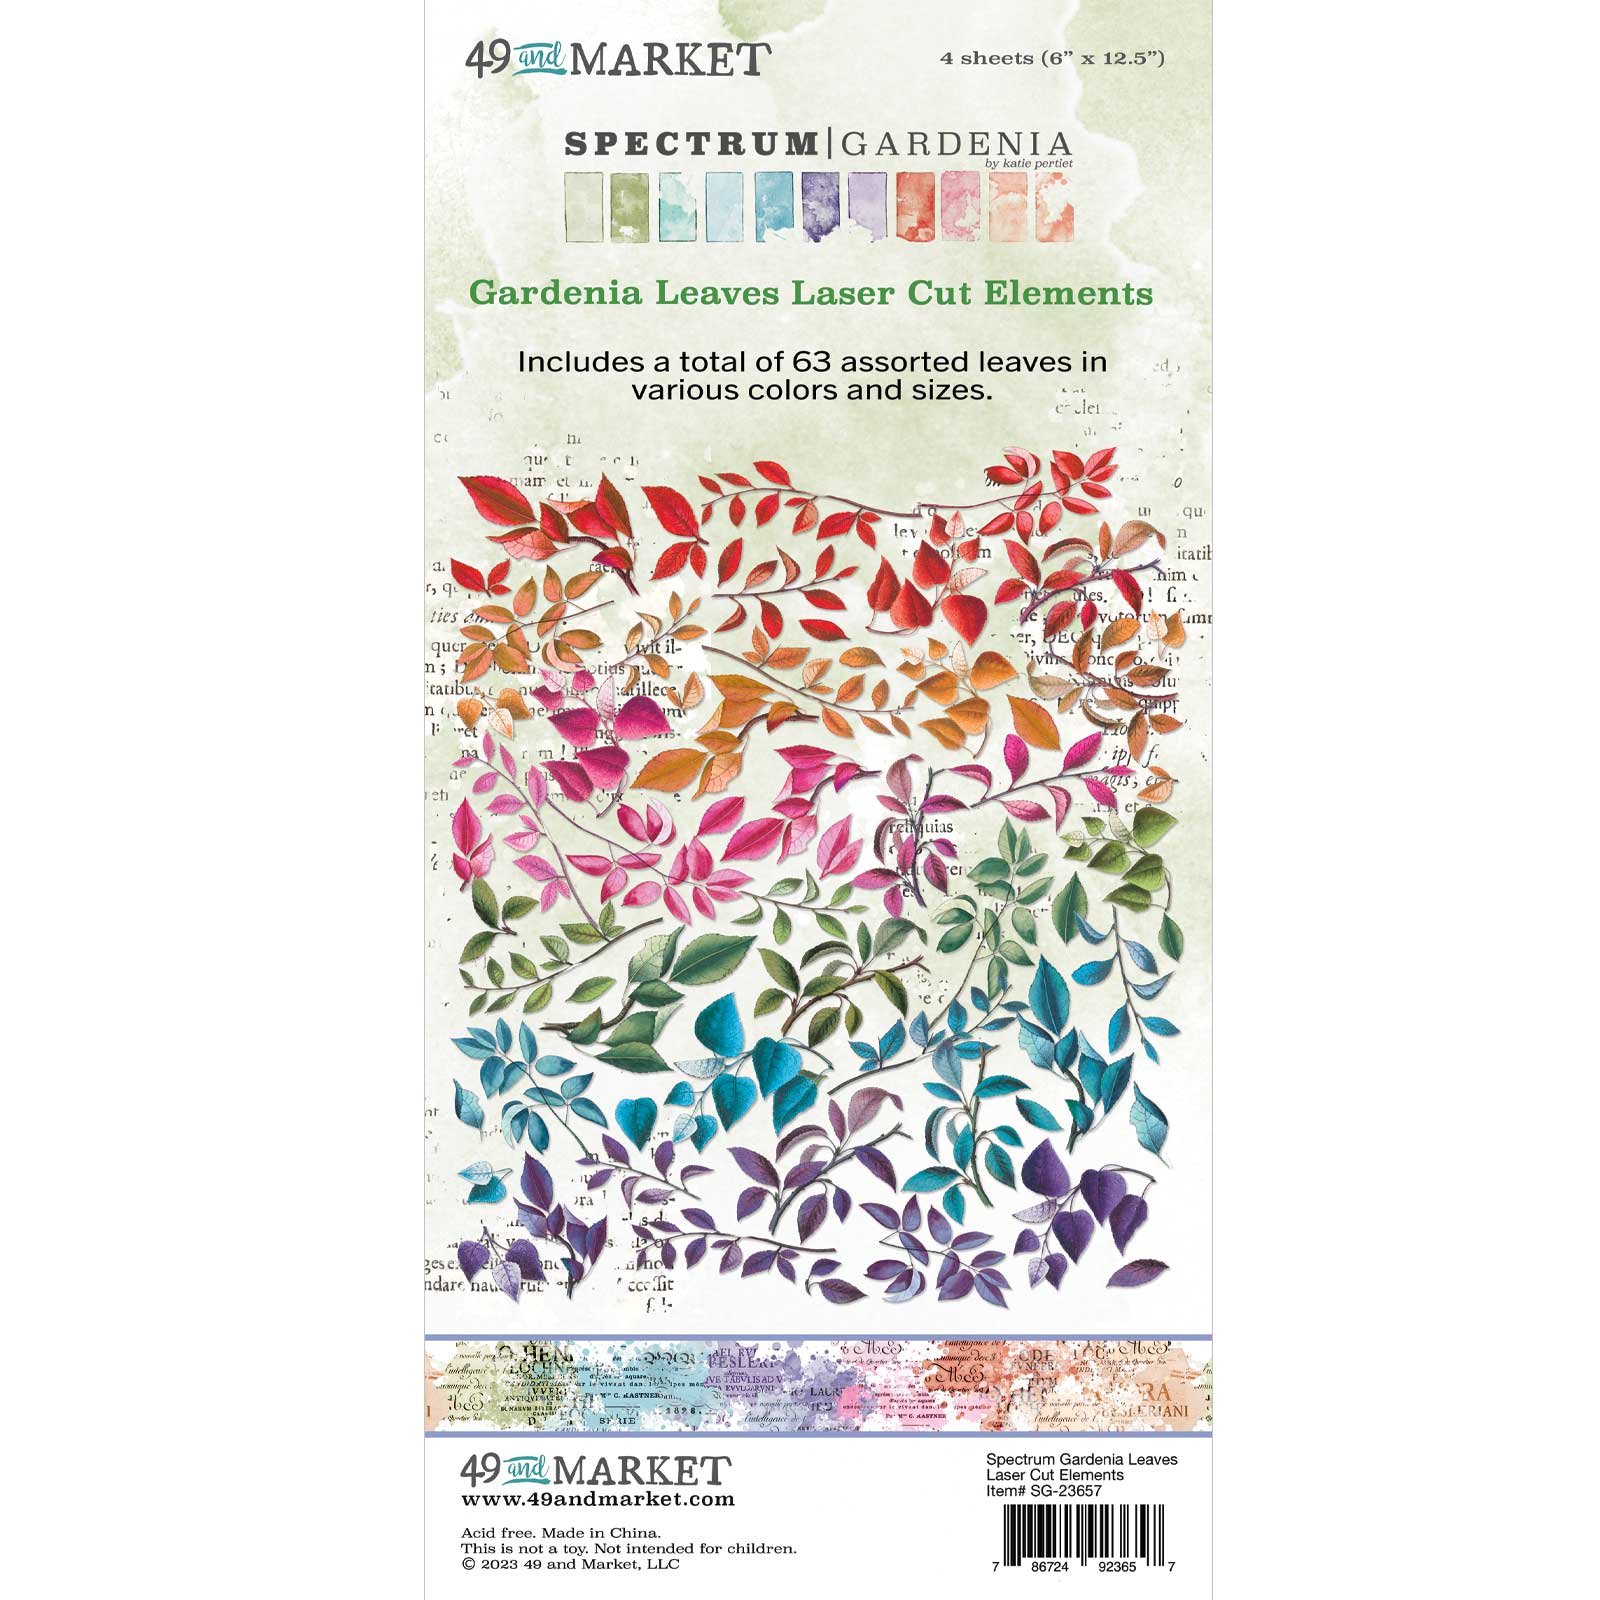
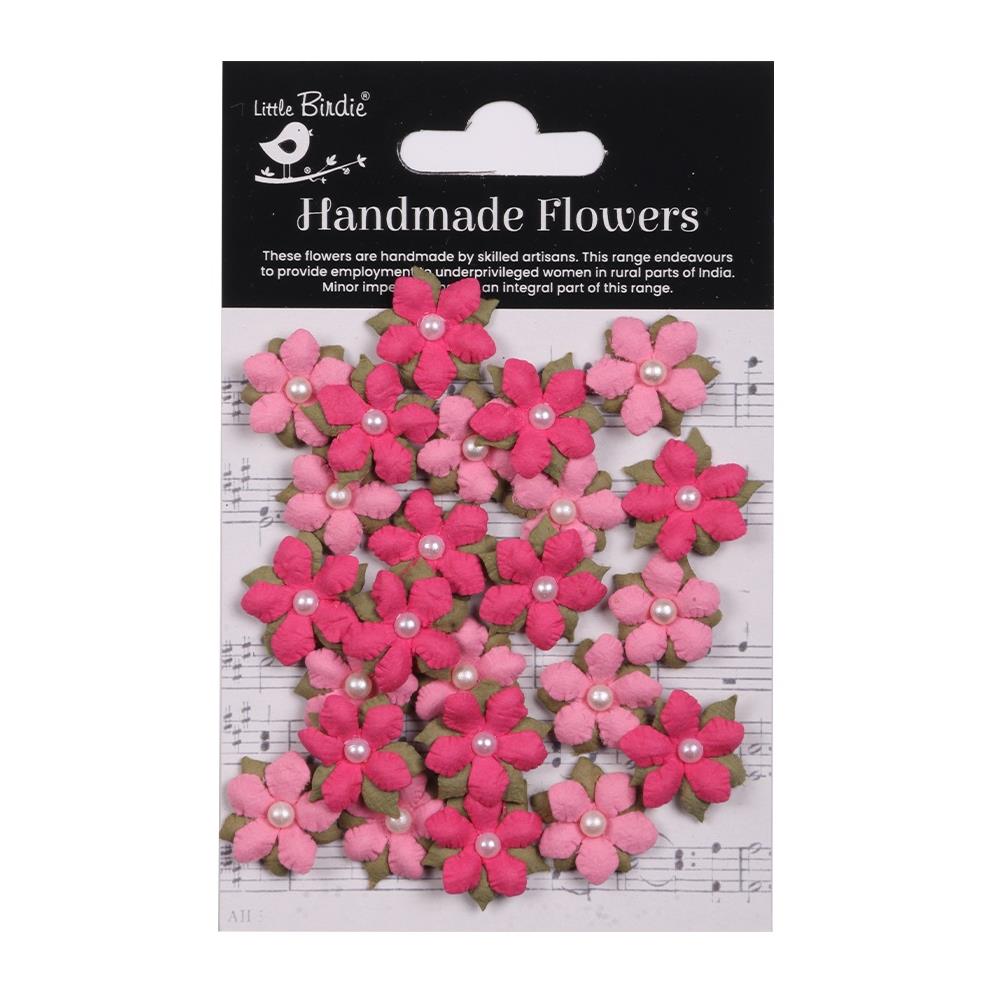
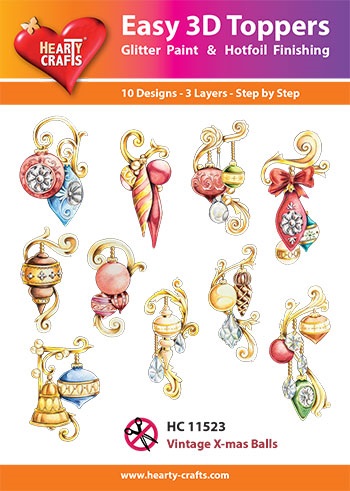
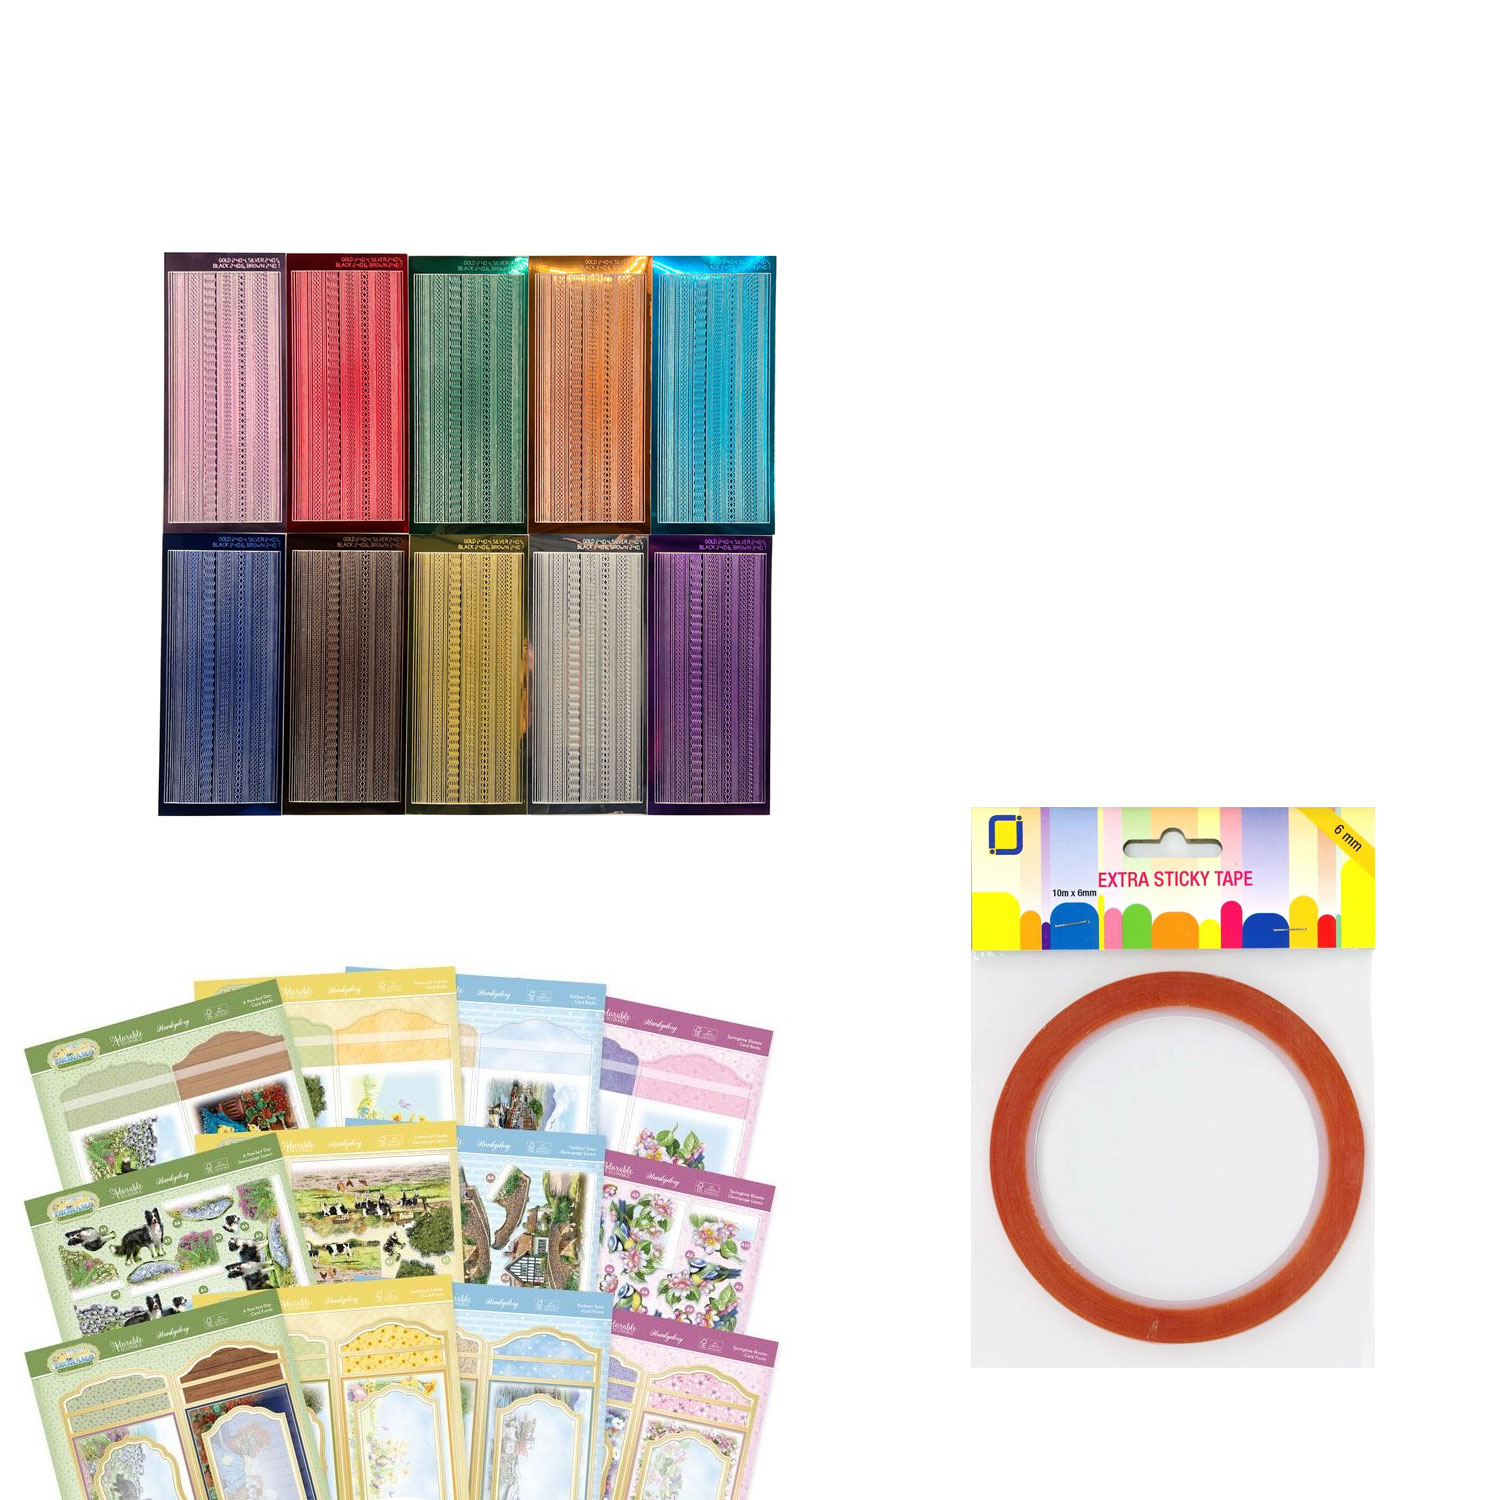
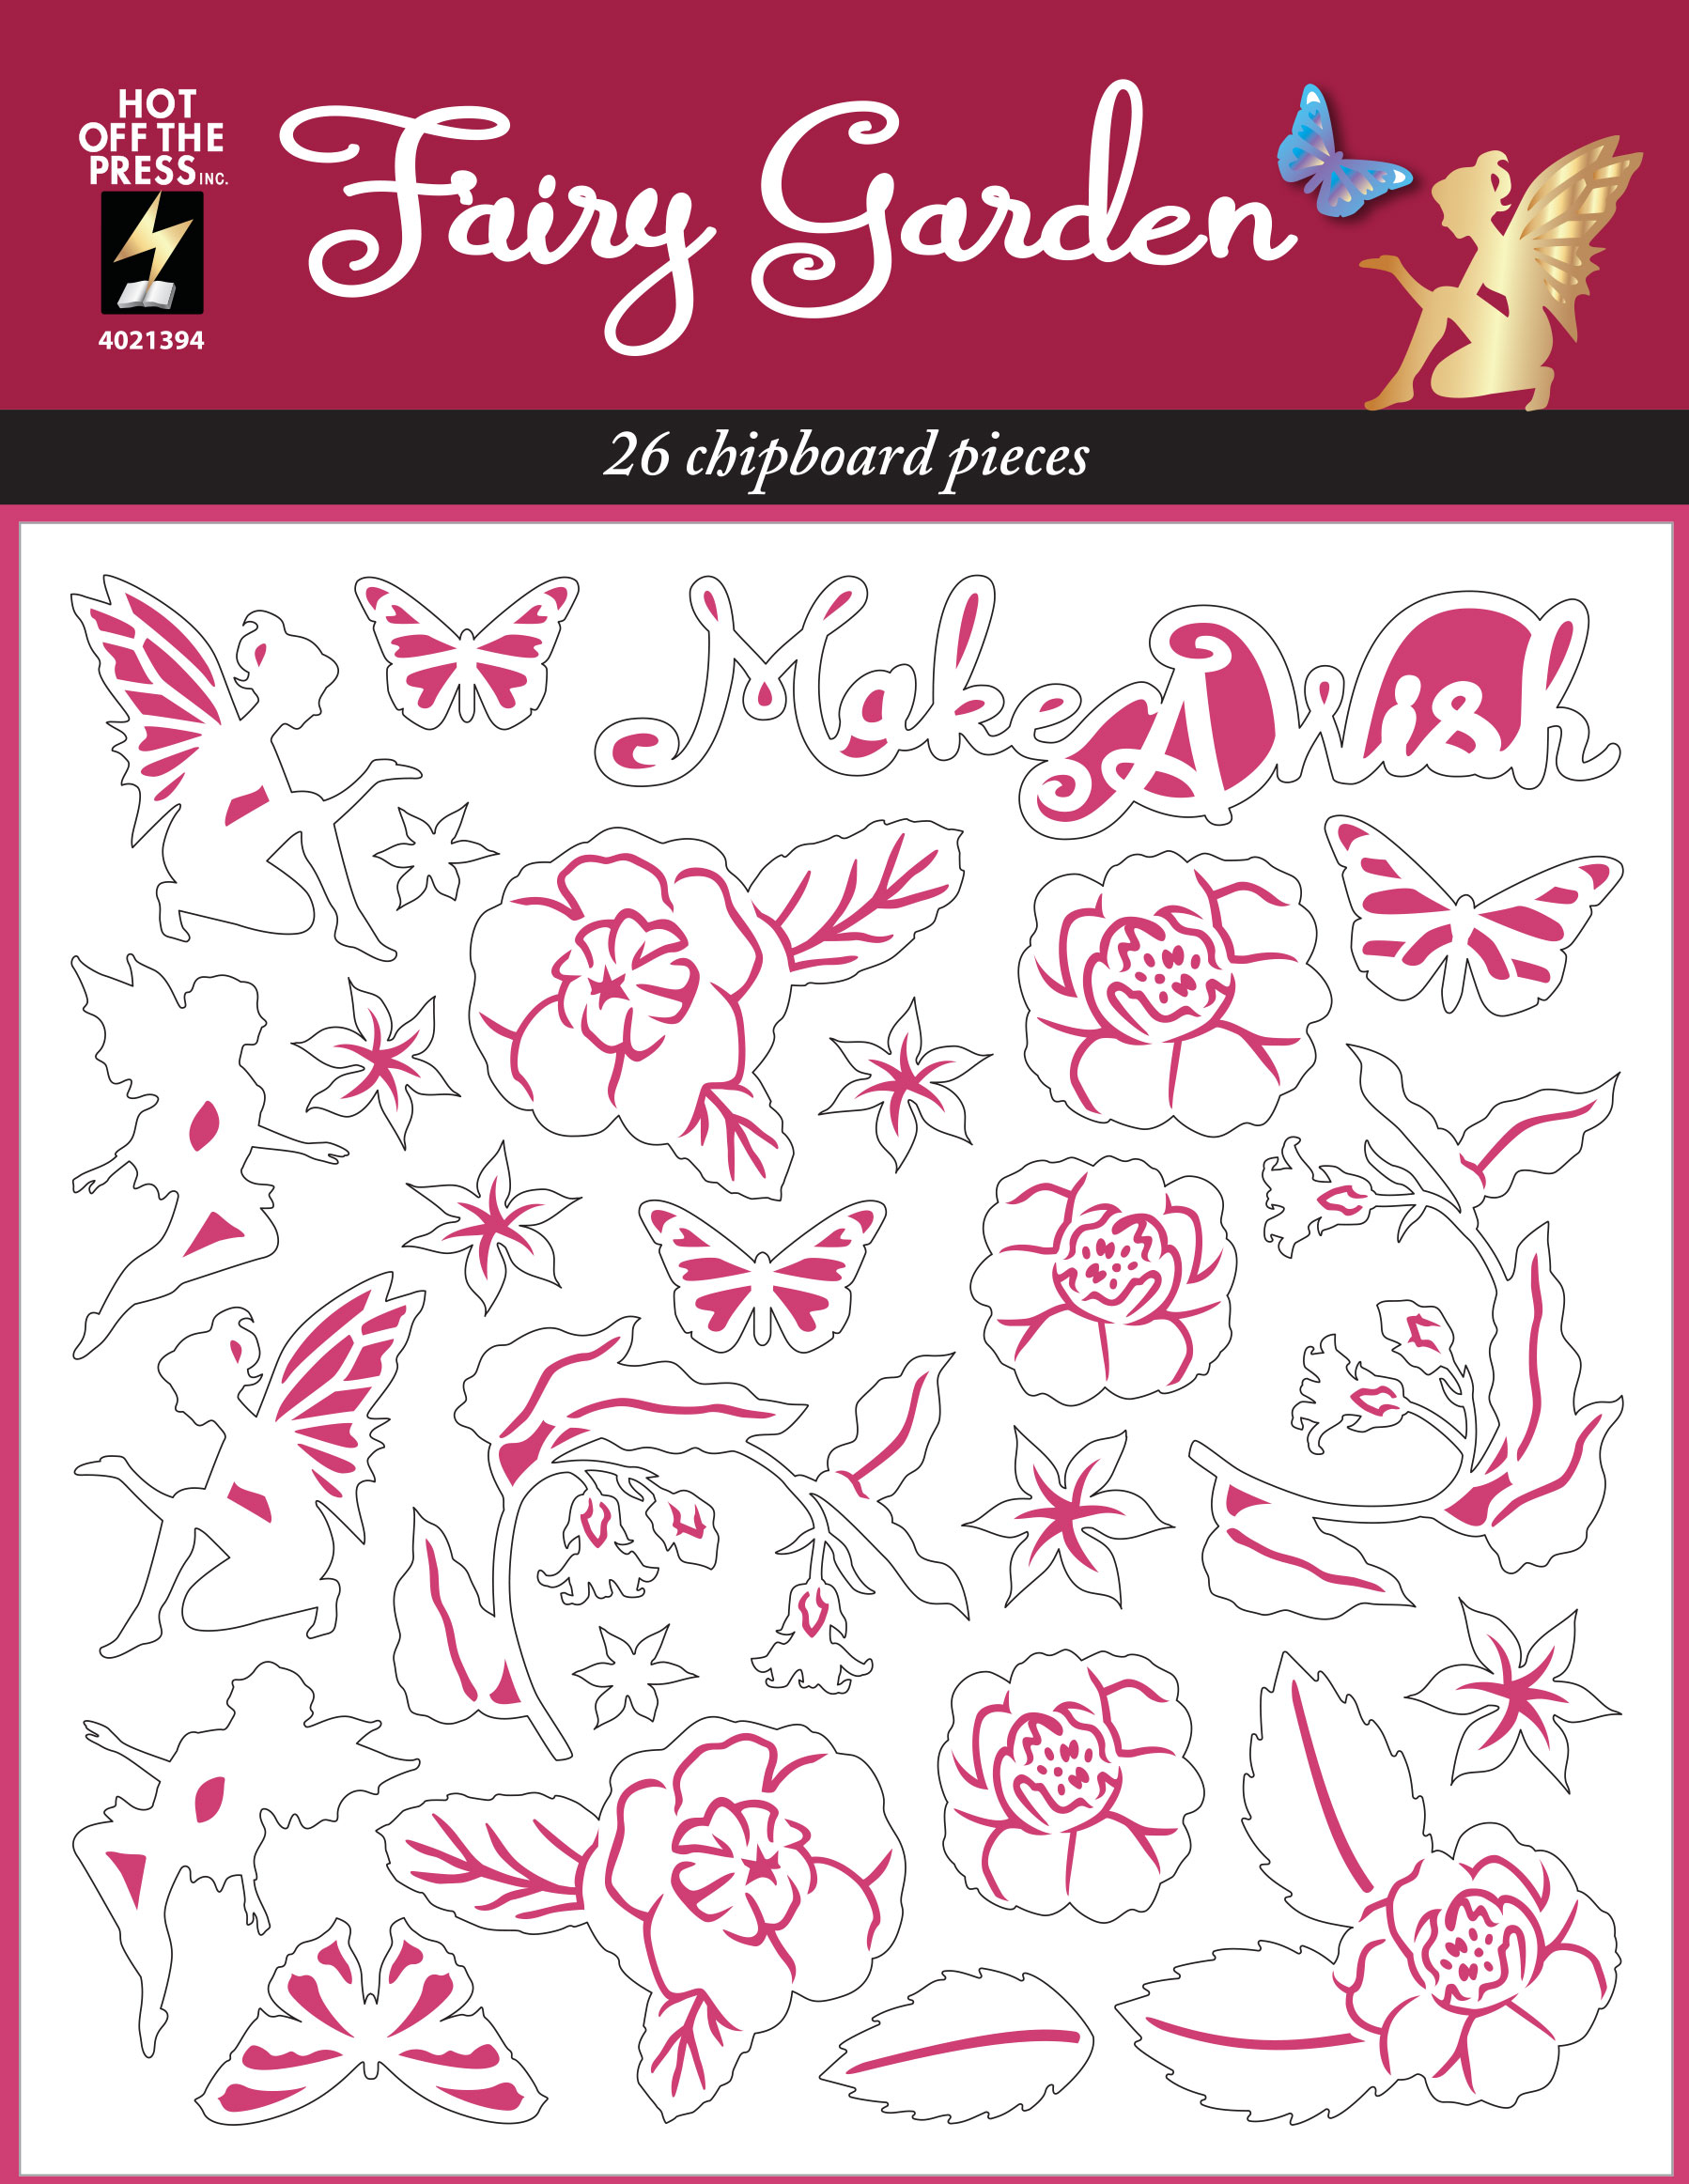
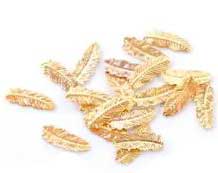
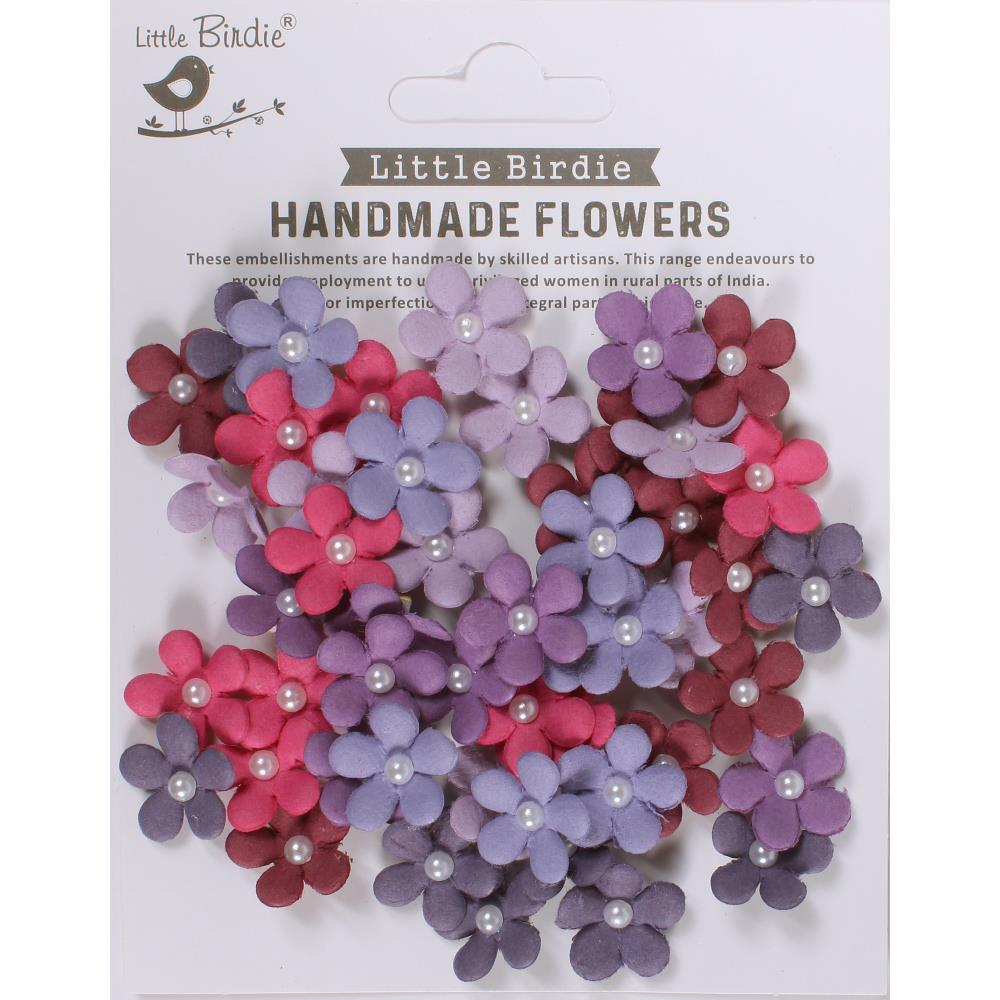
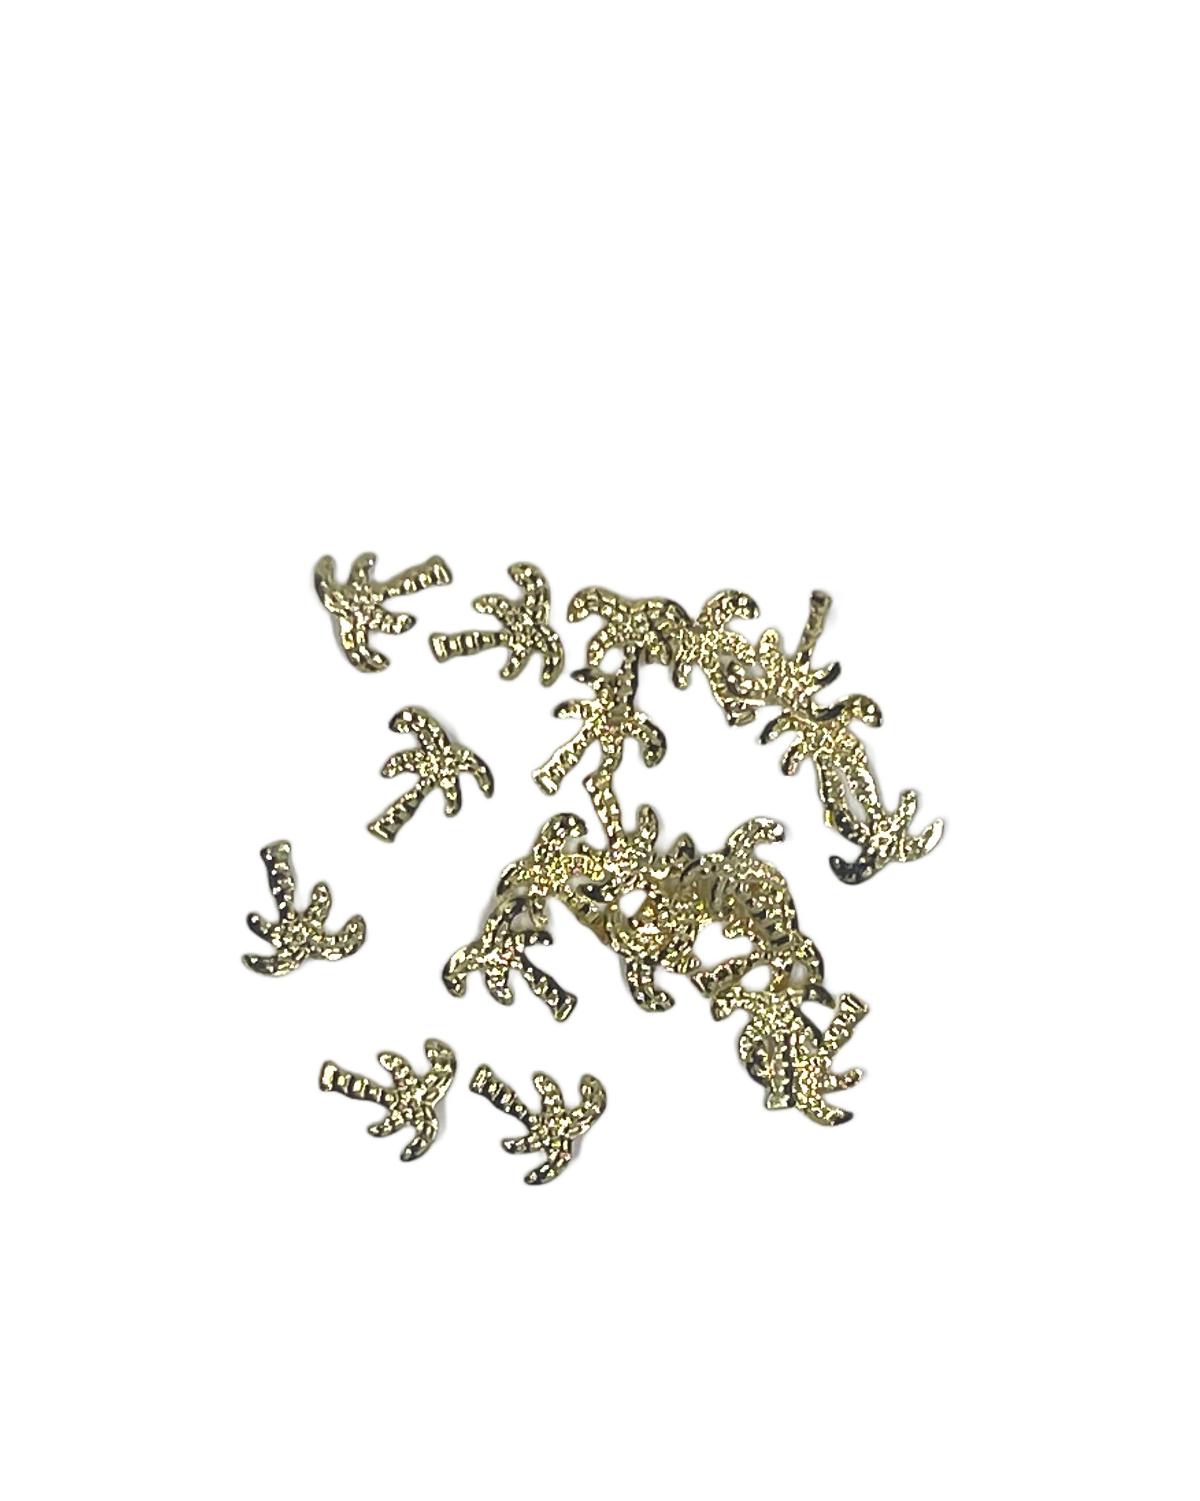
Accents
Dazzles™, flowers, die-cuts, chipboard, ribbons, rub-ons, washi tape & so much more!

Coloring Mediums
Markers, paints, foils, pastes, polishes, shimmer shakers, sprays, Yupo—all the fun goodies!

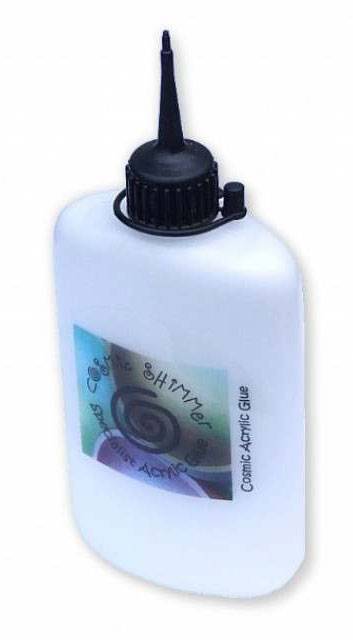
Glues/Tools +
Adhesives, Sticky Specs, foam tapes, tools, storage, DIY surfaces, albums & such!

VIP & Subscriptions
Available only here at PaperWishes.com.

Sales
Every day there will be a special sale. Happy pocketbook!

Webisodes
4-5 times every week the design team shares videos using these wonderful products.
Brands


Best Sellers

Webisodes
Every Sunday, Tuesday, Wednesday and Thursday join a free video class. We’ll share tips, tricks and techniques plus a money saver. Wow!
Come play with us!Saturday with Sara
Join Sara the 2nd and 4th Saturday every month to see new products with her special touch. (Formerly, Mixed Media the Paper Wishes Way.)
Discover moreFabulous Folded
One Saturday each month Teresa and Paulette bring the very latest Fabulous Folded card dies with special techniques.
Discover moreDelightful Dimensional
One Monday each month Paulette brings the very latest Delightful Dimensionals with special techniques.
Discover more101 Videos
All the basics
Card making 101, Scrapbooking 101, Dazzles™ stickers 101, Stamping 101, Chipboard 101, and more!
Discover MoreWe love to inspire your creative spirit!
Paper Wishes is dedicated to shopping the entire papercrafting world. We’ll bring you the very best, very latest and most creative products around. We’re always at your side with inspiring projects. Come play with us!
Sign Up to Join the Paper Wishes Family
Provide your email address and birthday to receive a FREE cutout art sheet plus an instant 20% OFF coupon. We’re looking forward to contacting you with lots of goodies!
